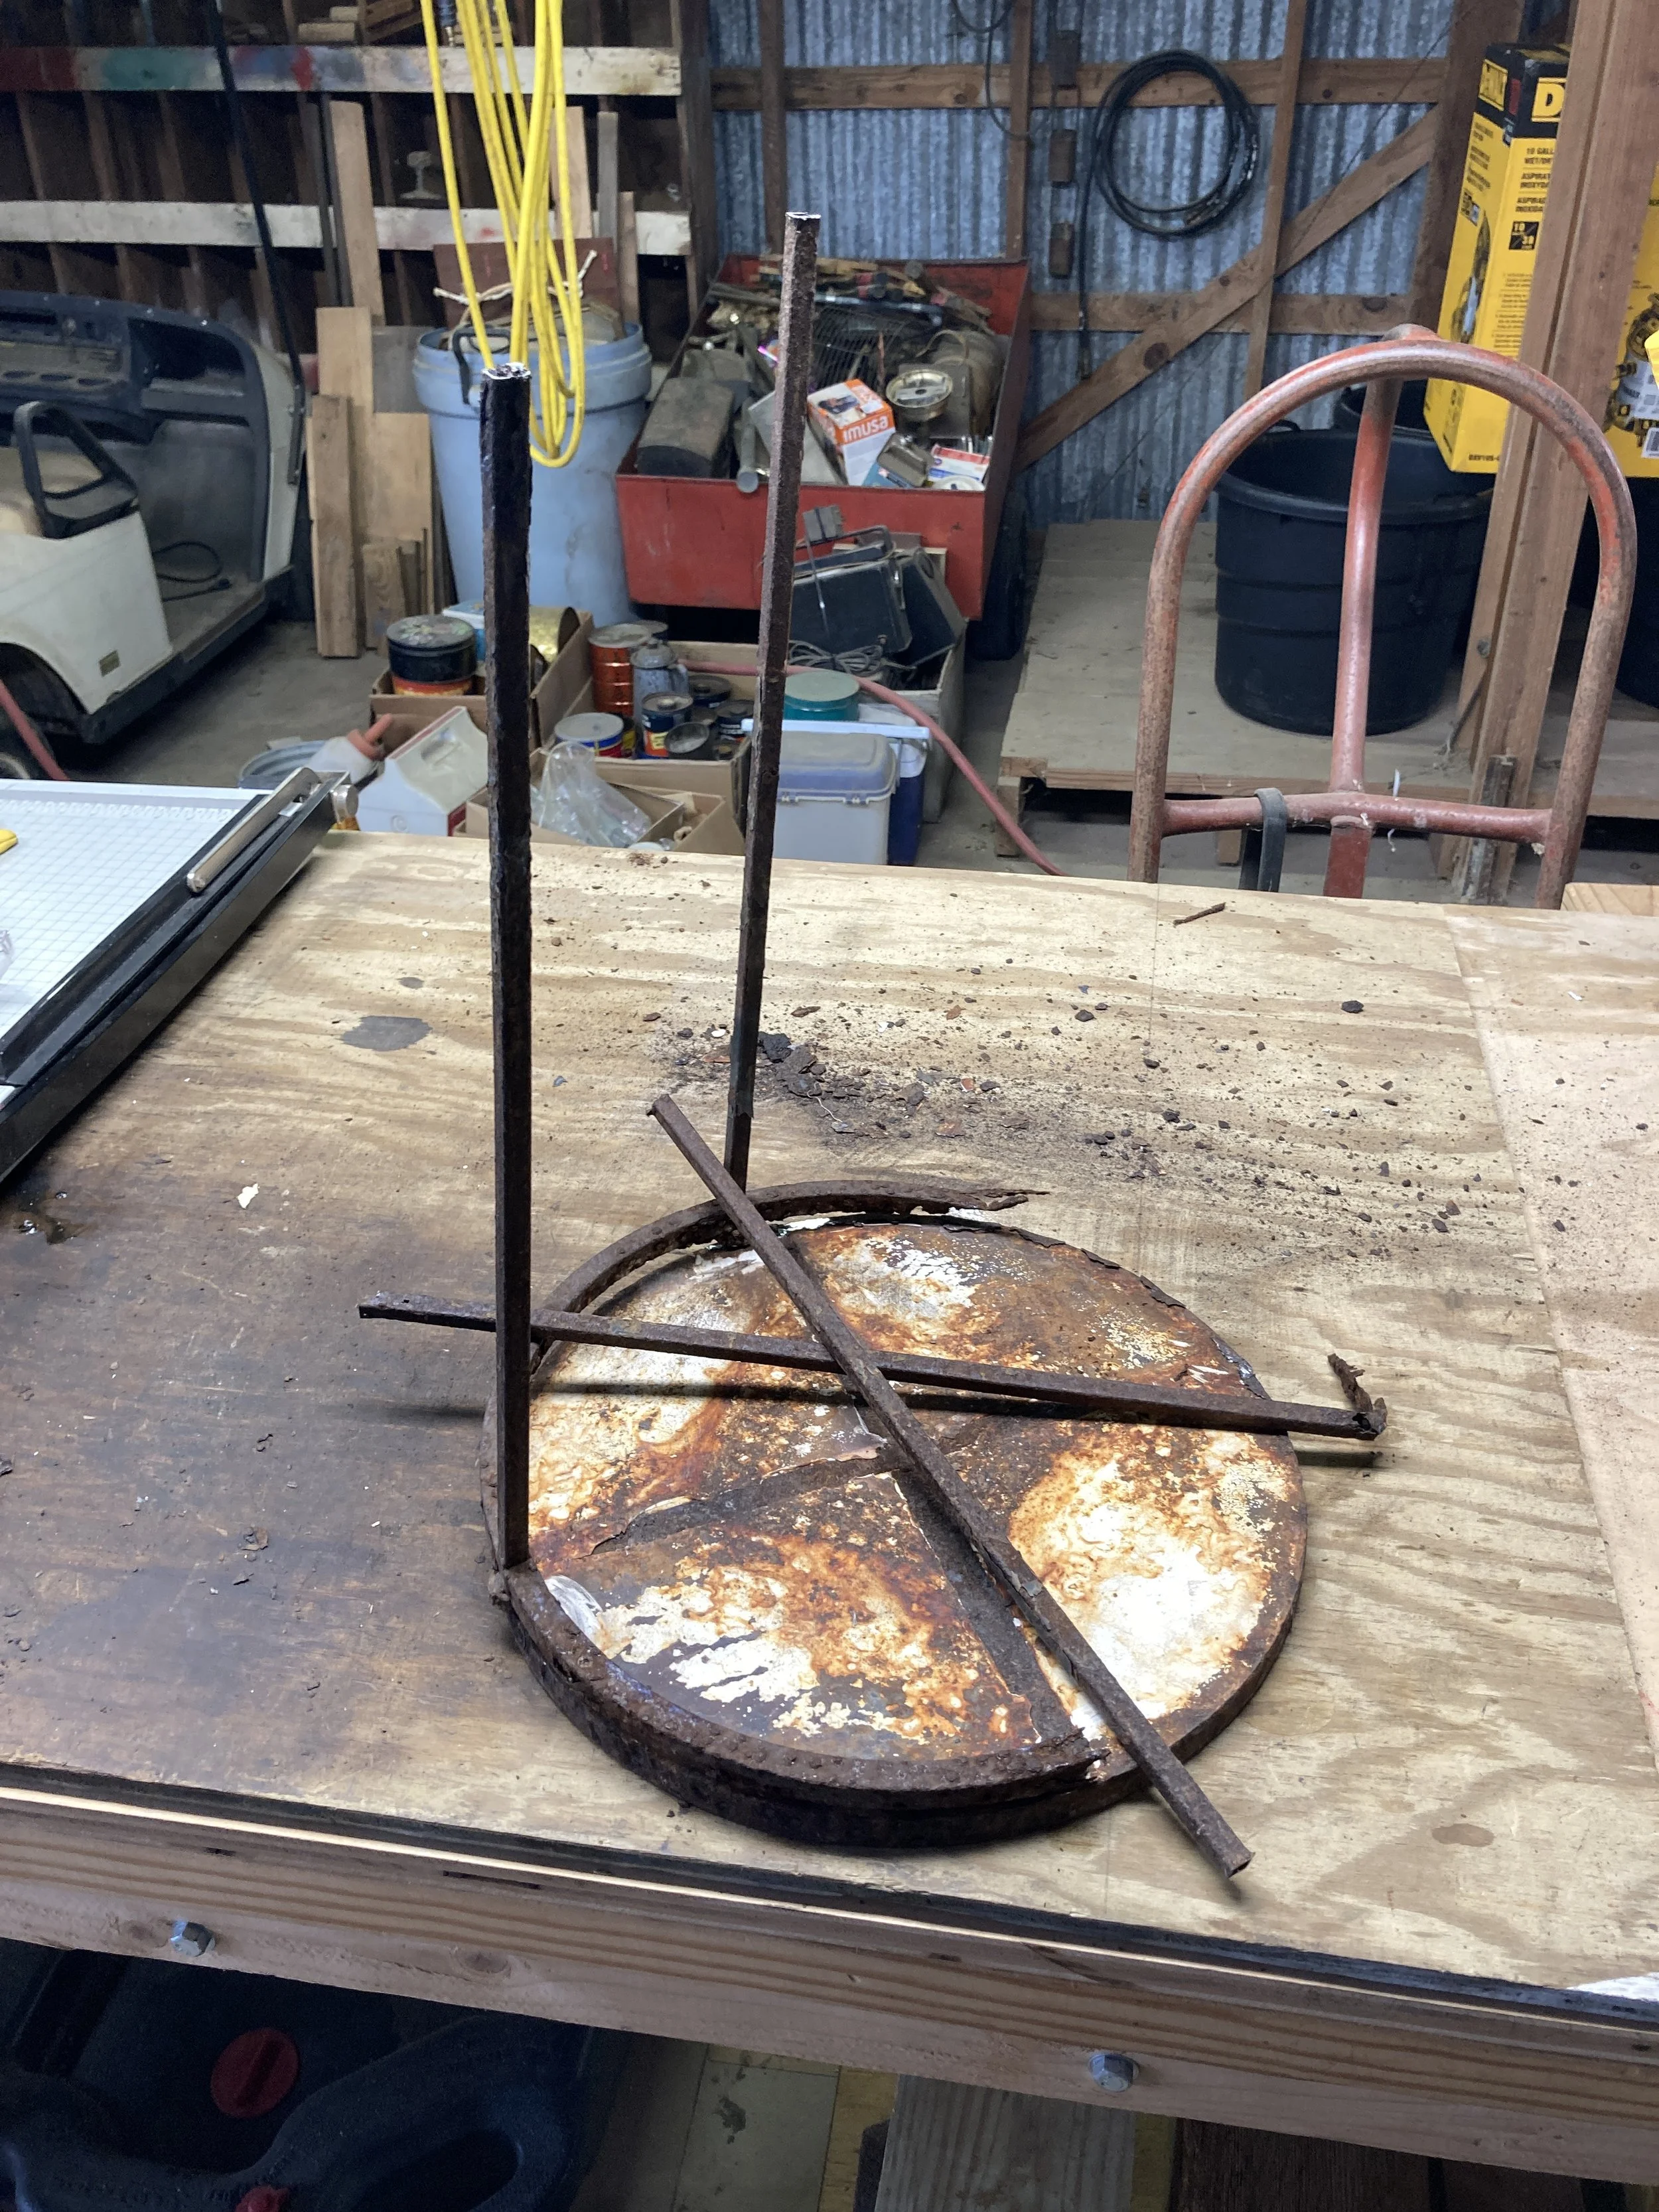
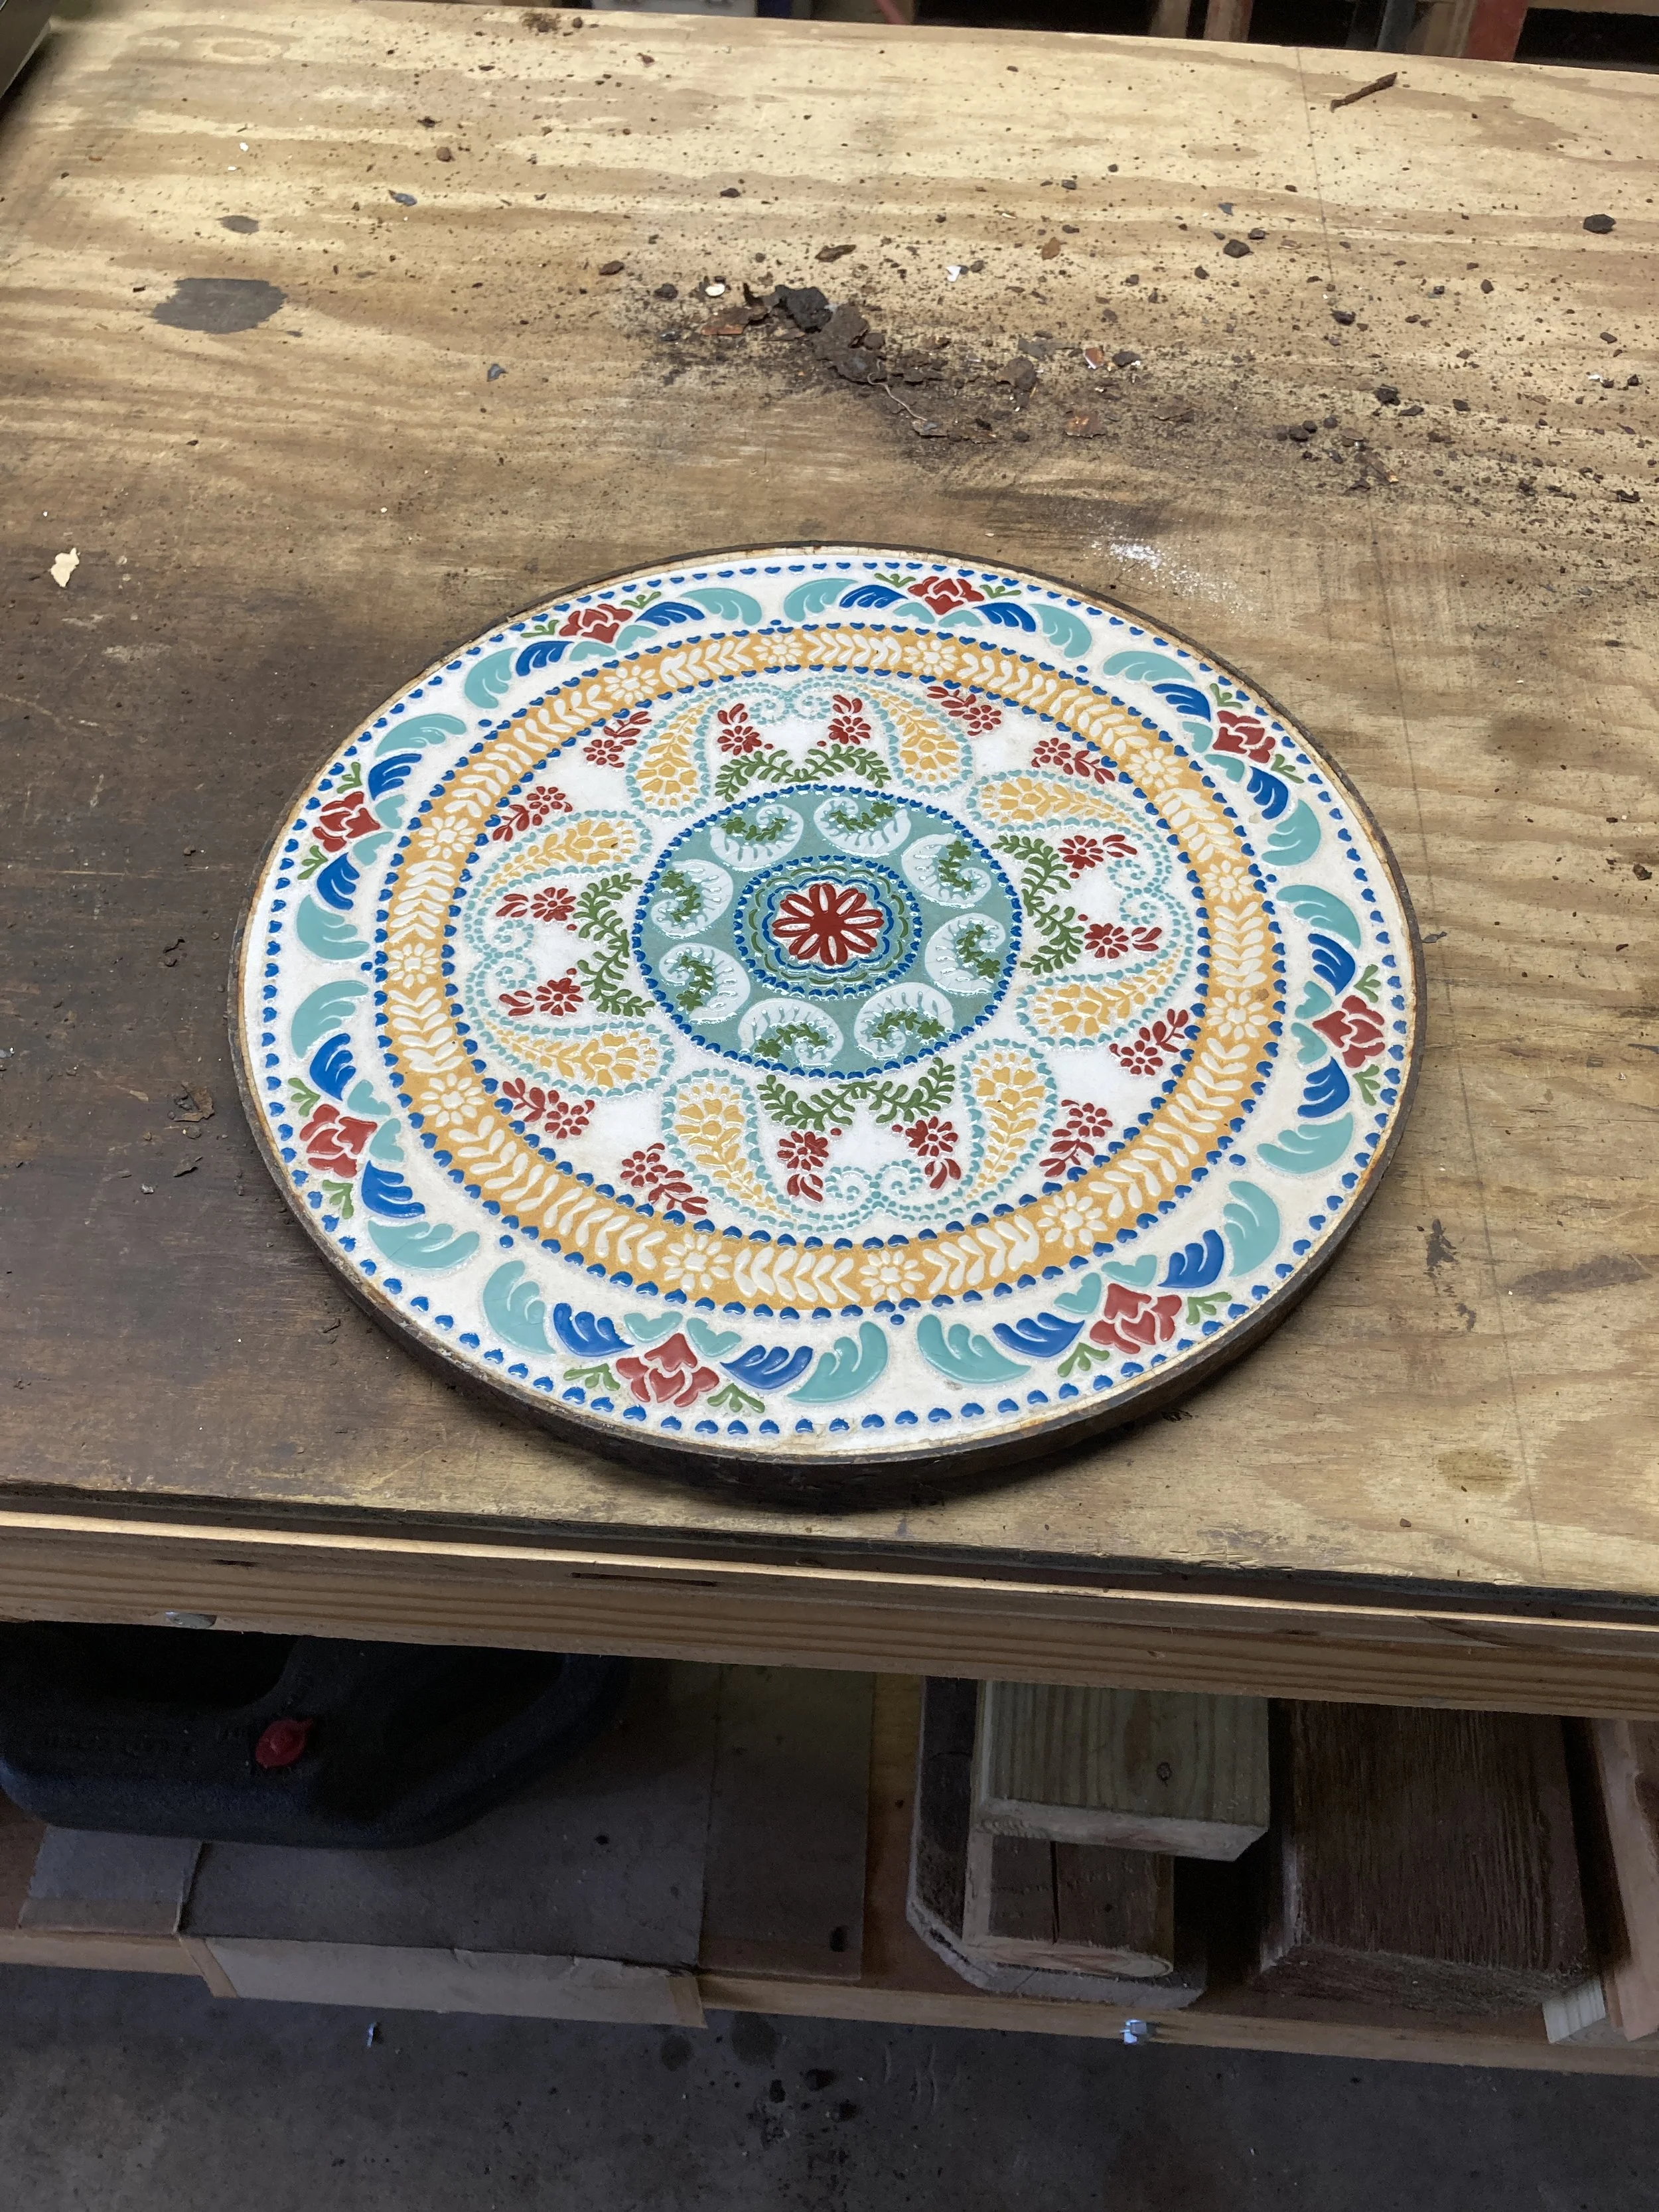

My wife, Jean Anne had this table out on our back porch. I never paid much attention to it. One day, the metal legs gave way from being rusted & the table fell apart. She asked me if I could fix it. I looked at it & thought, why bother, it’s a piece of junk. However she pointed out to me that she like the top side mosaic feature. When I picked up the table I understood why as it was very heavily built & after I cleaned it up, I got more interested in it.
So I’m calling this project ‘The Mosaic Table’.
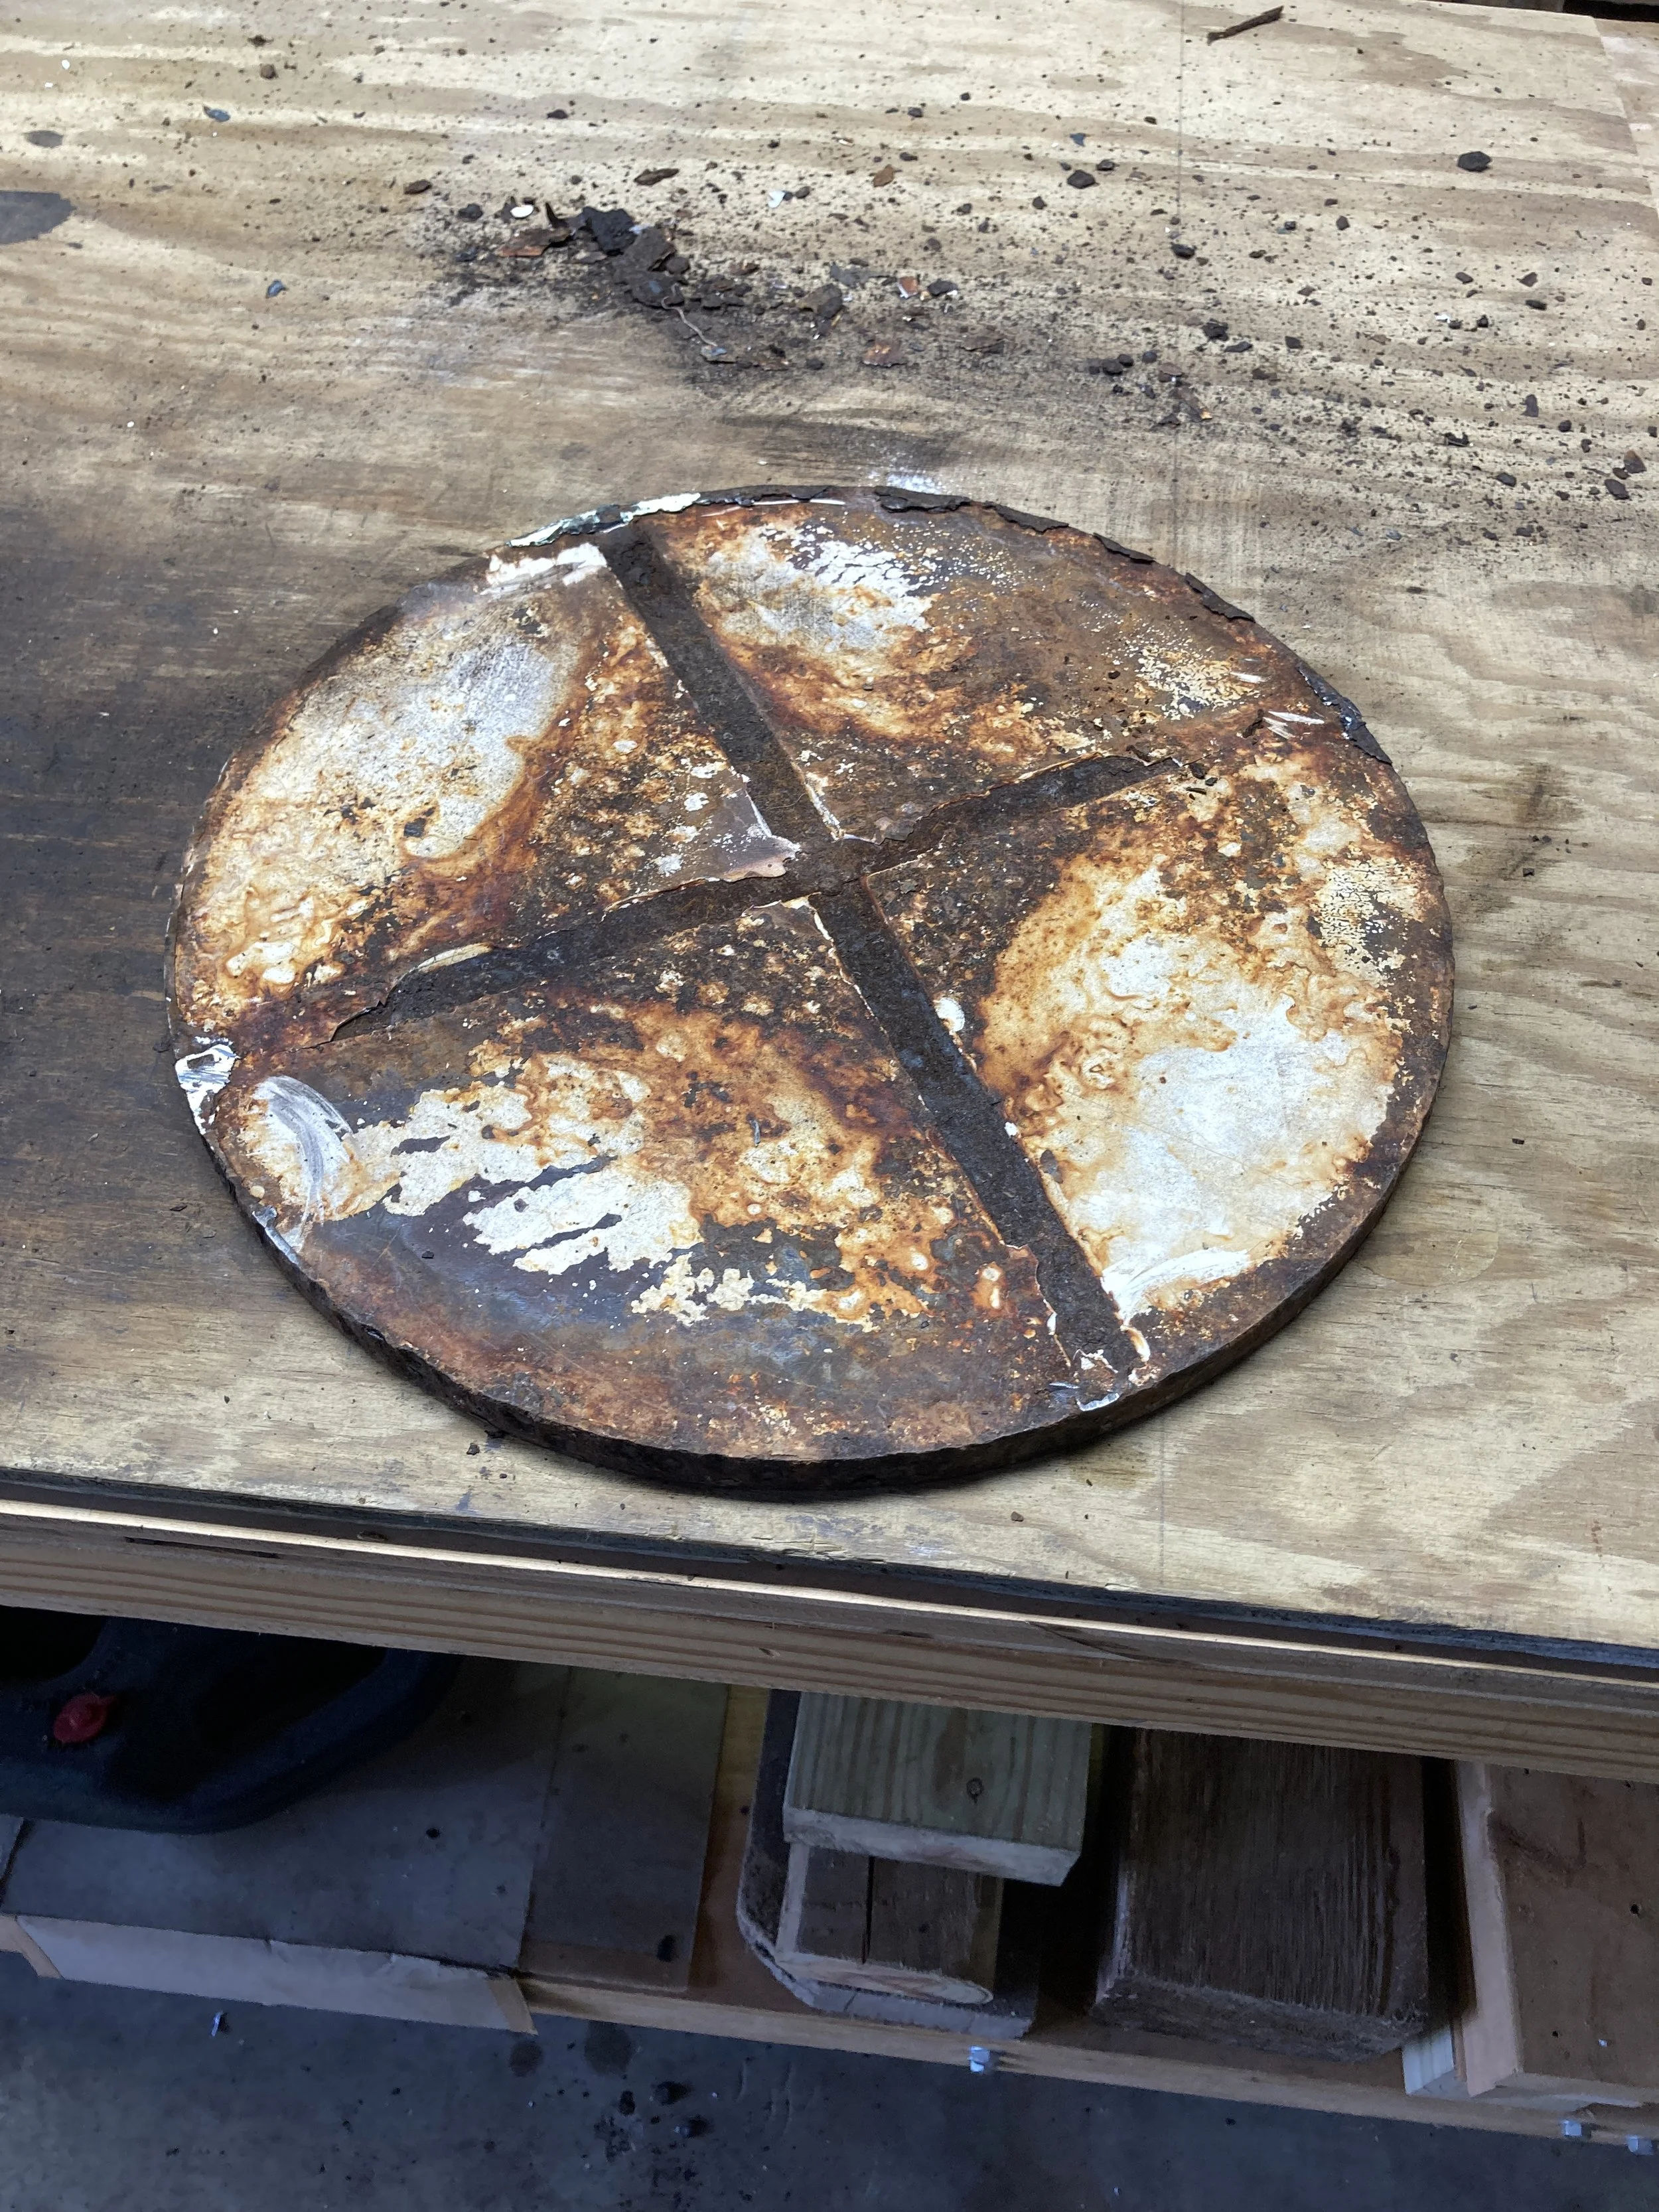
Once I removed the rusted table legs, I sanded the bottom of the table to remove the bits & pices of iron left over & smoothed it out a little. However, the bottom of the table top is somewhat domed shaped for whatever reason & it would take a lot of sanding & grinding to level it out & I didn’t want to take a chance on removing too much material & weaken it since its made up of some type of plaster. So I needed to come up with a way to level it so I could build a leg frame for it.
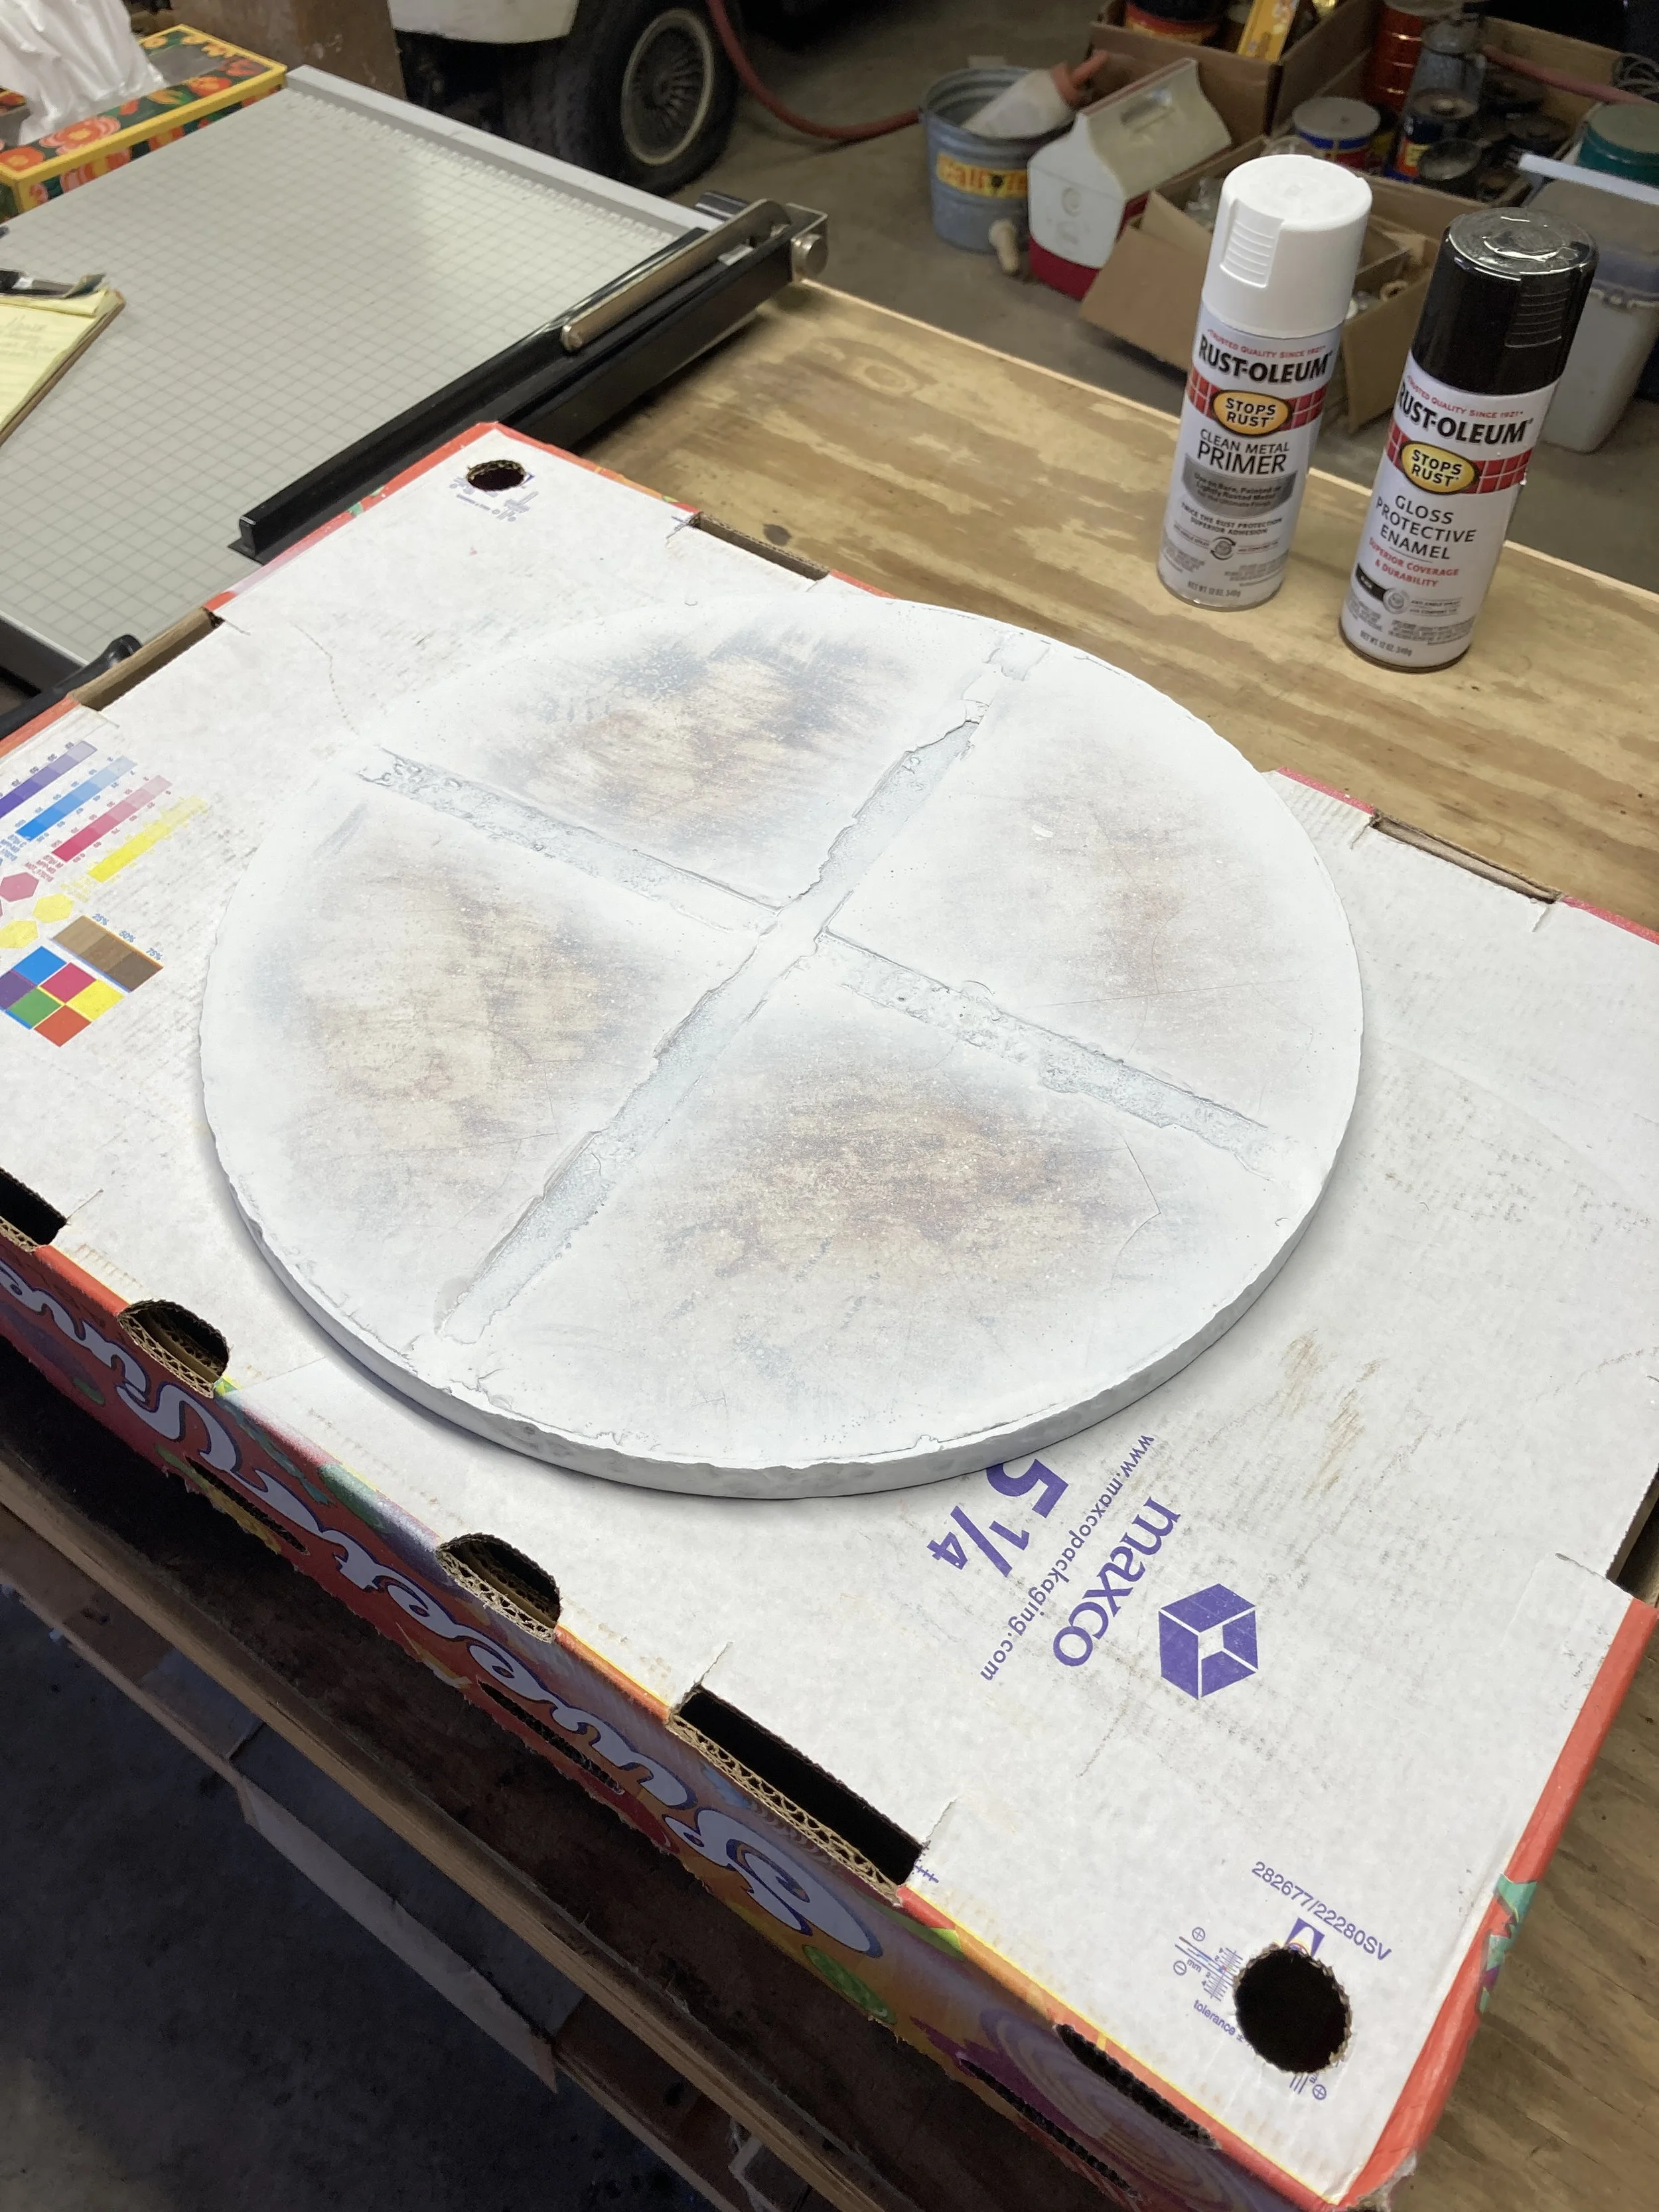
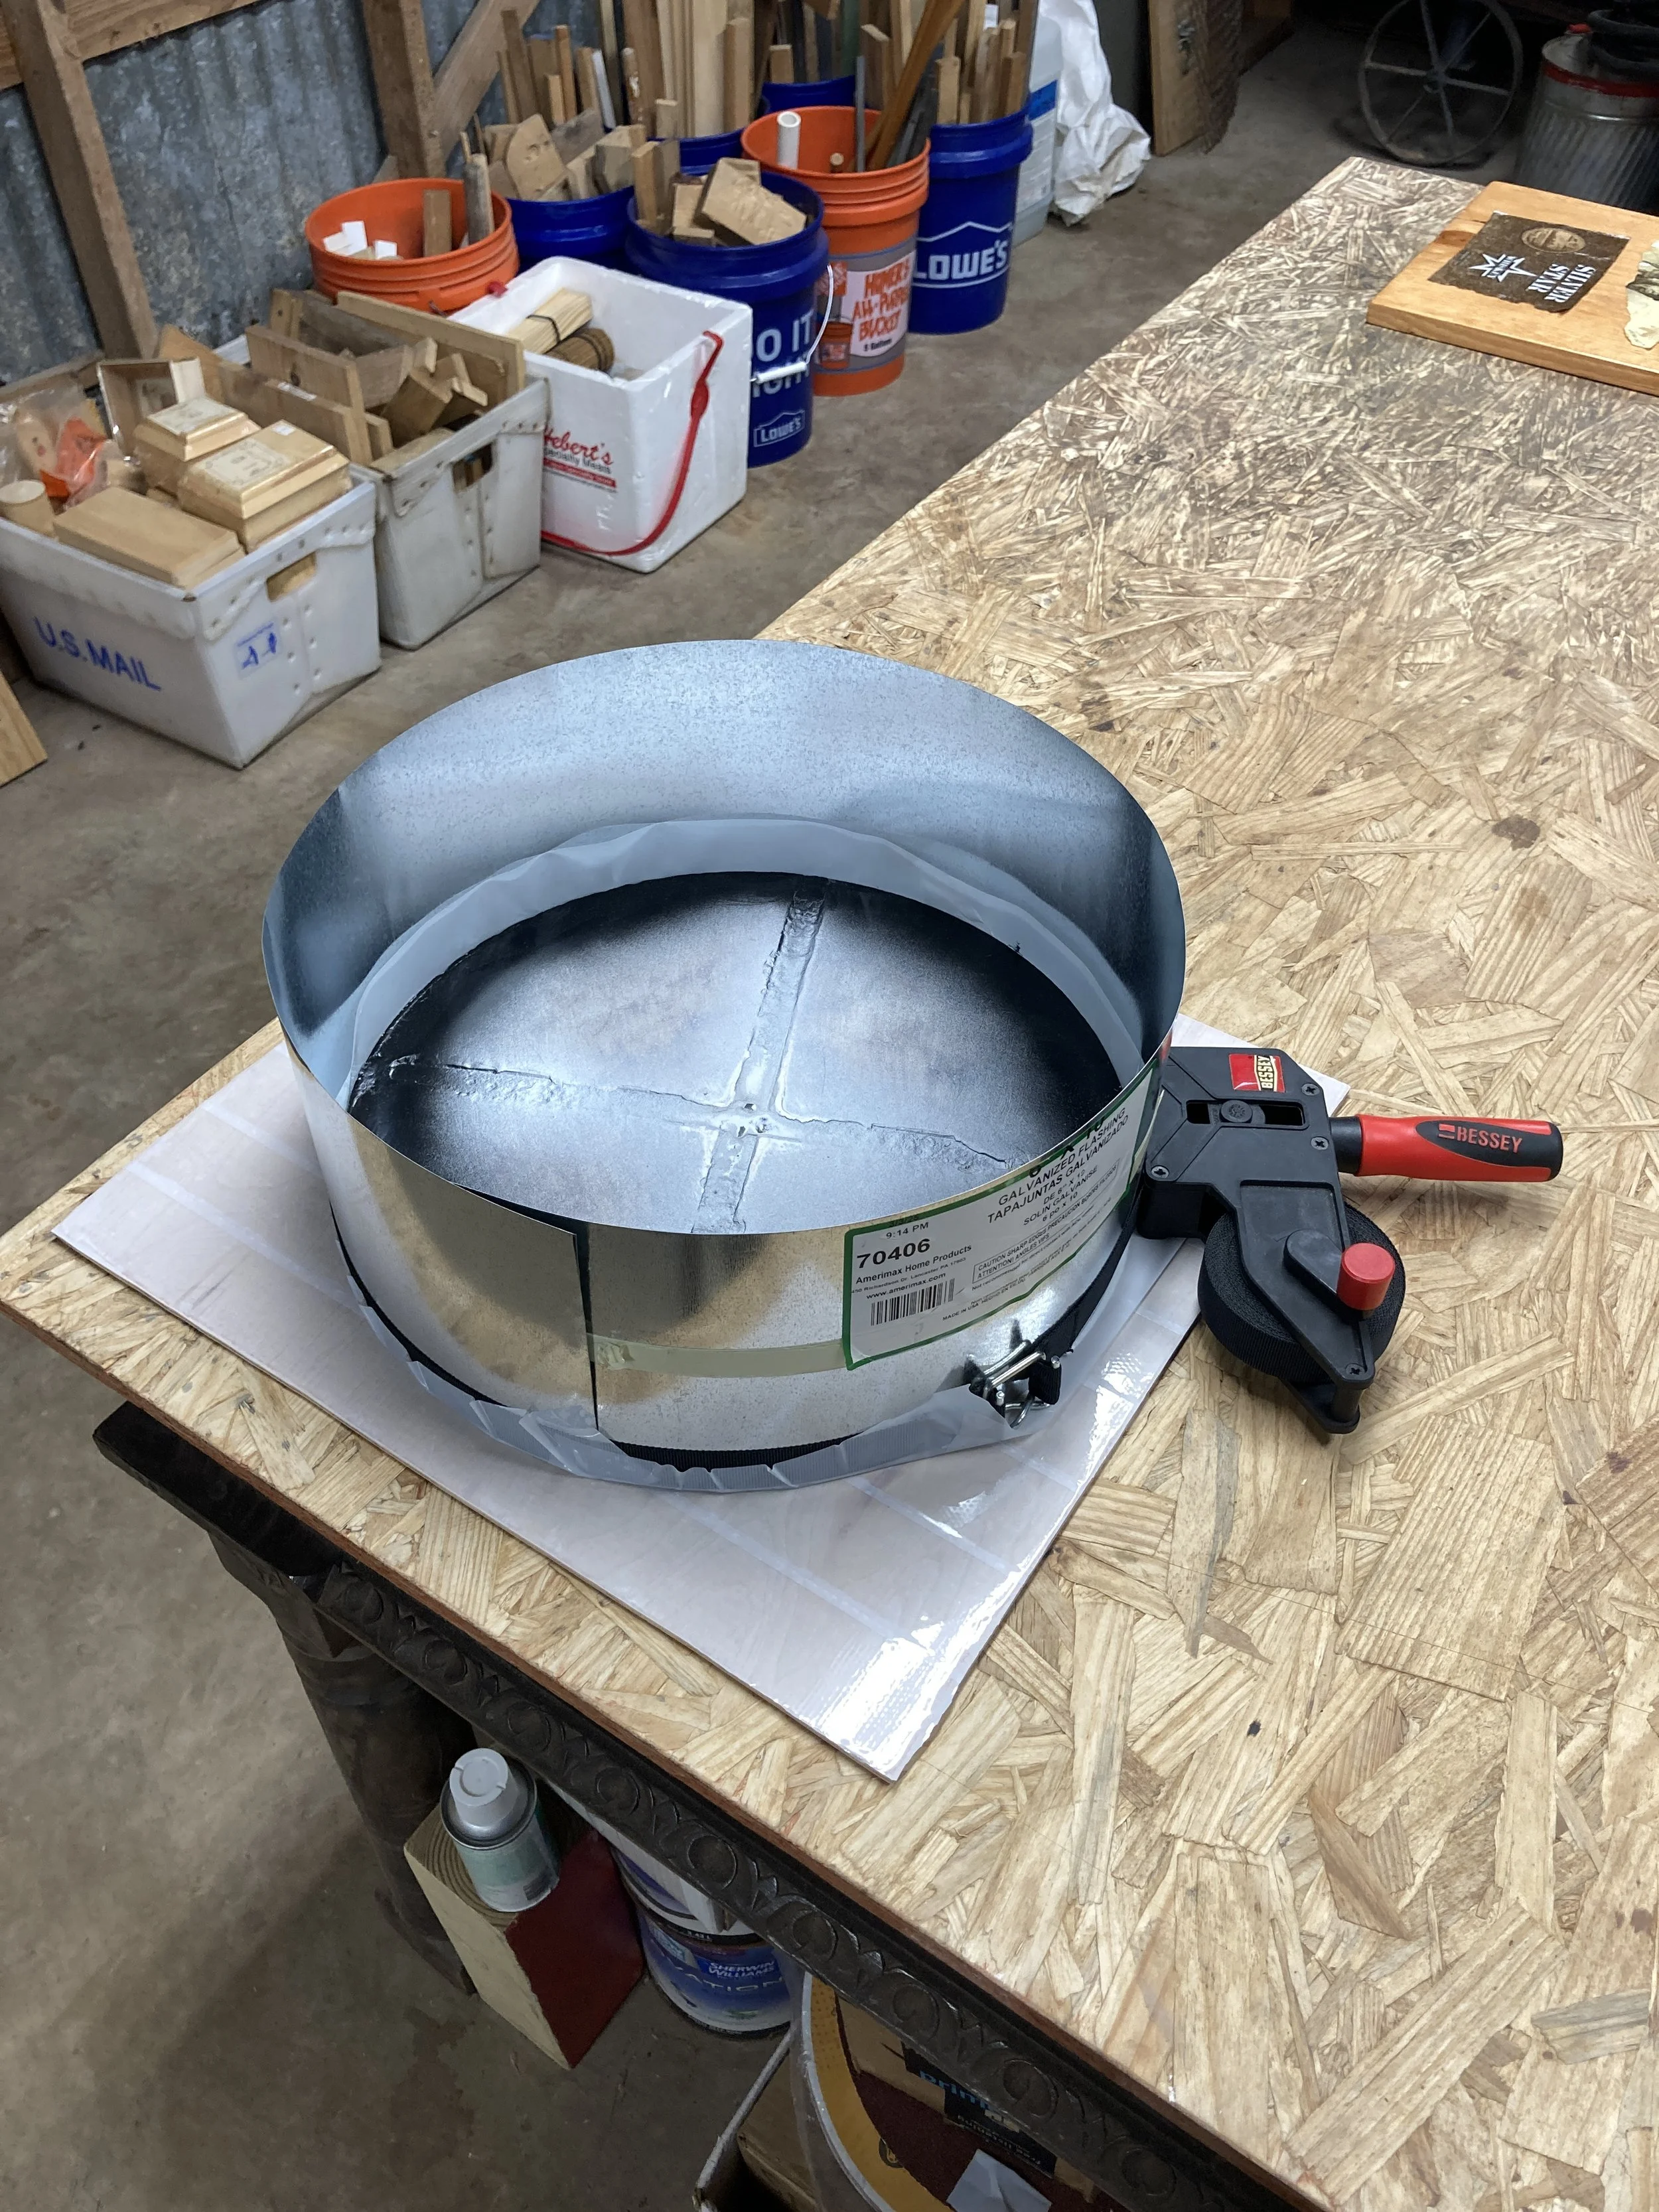
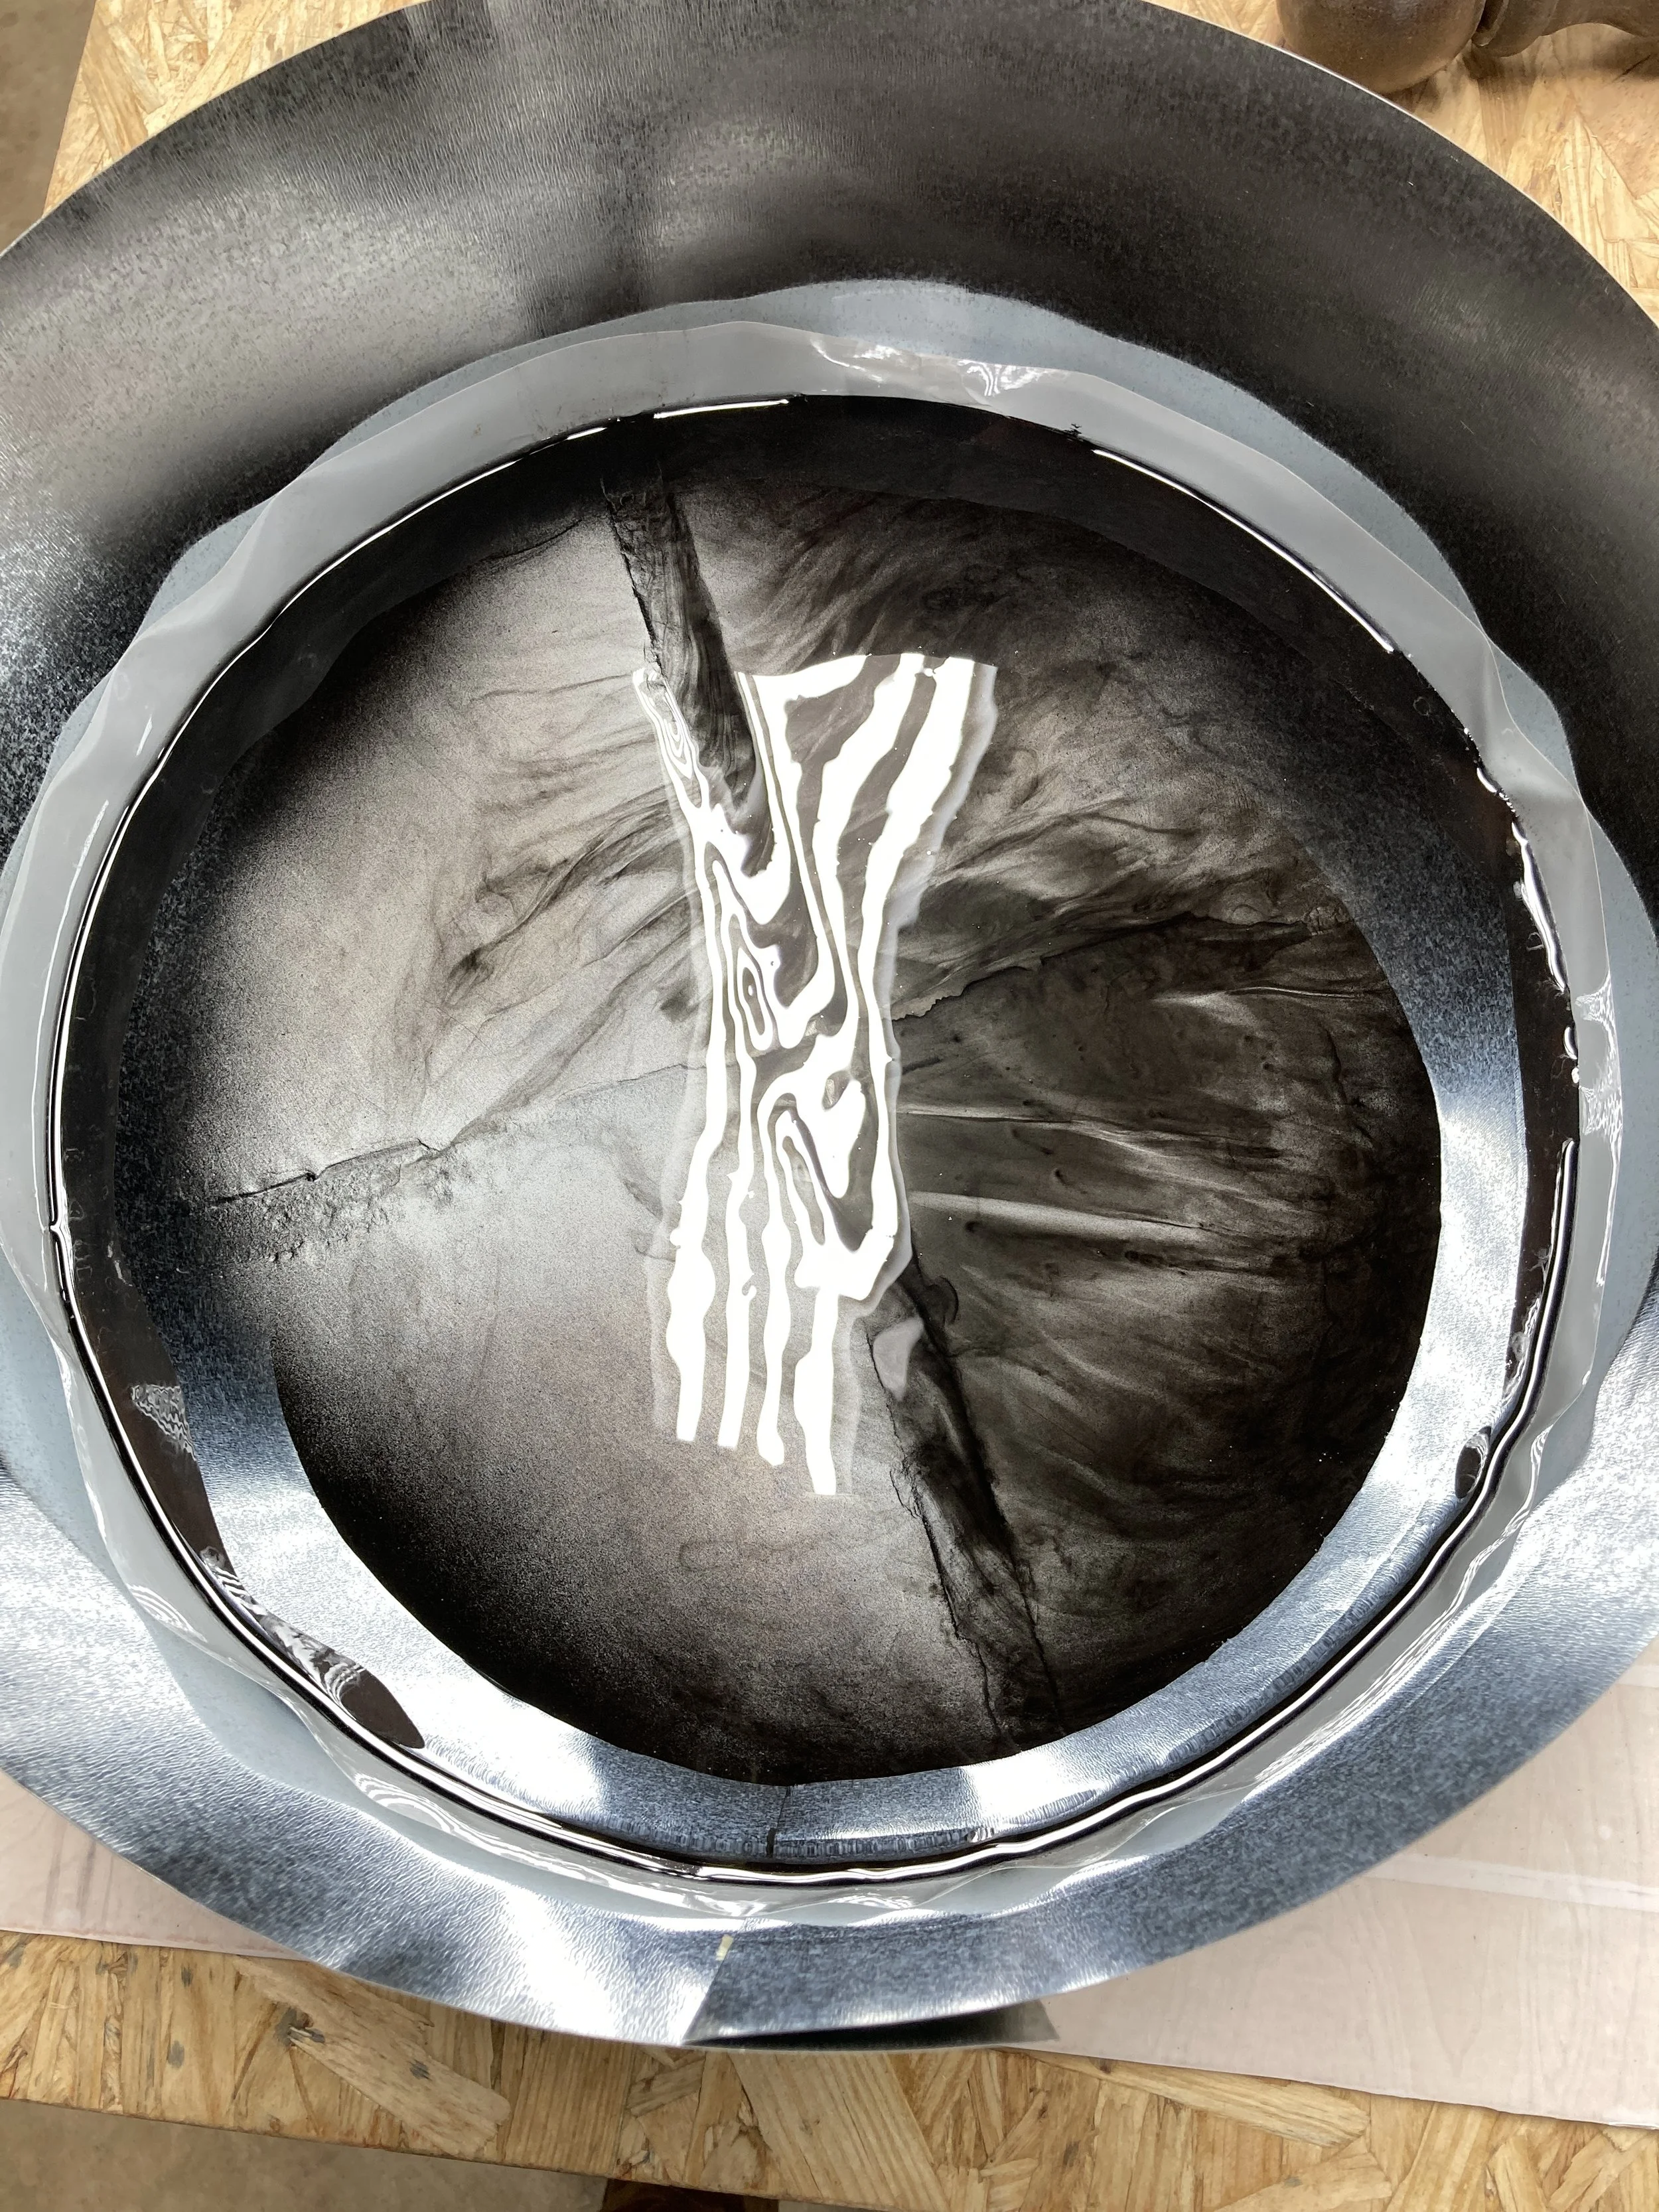
Since the dome was only about 1/4” between its peak & trough, I decided to use resin to level it out. So I went looking around for the tools I needed to make the mold. I picked up a small roll of tin roof flashing at Lowes Used it to position around the base of the table top & cut it to fit. Next step I used resin masking tape to cover the edges on the top & sides of the table top as I knew that the resin would seep down through any cracks & uneven surfaces of the side of the table top. Unfortunately, it appears I didn’t take any photos of this. Hmmm…..
I had a set of Bessy Clamps from an old project I worked on when I was living in Pearland years ago. They work great on round or oblong objects where regular clamps don’t.
So once I positioned the flashing around the base of the table top, I secured it the Bessy Clamp. Worked perfectly.
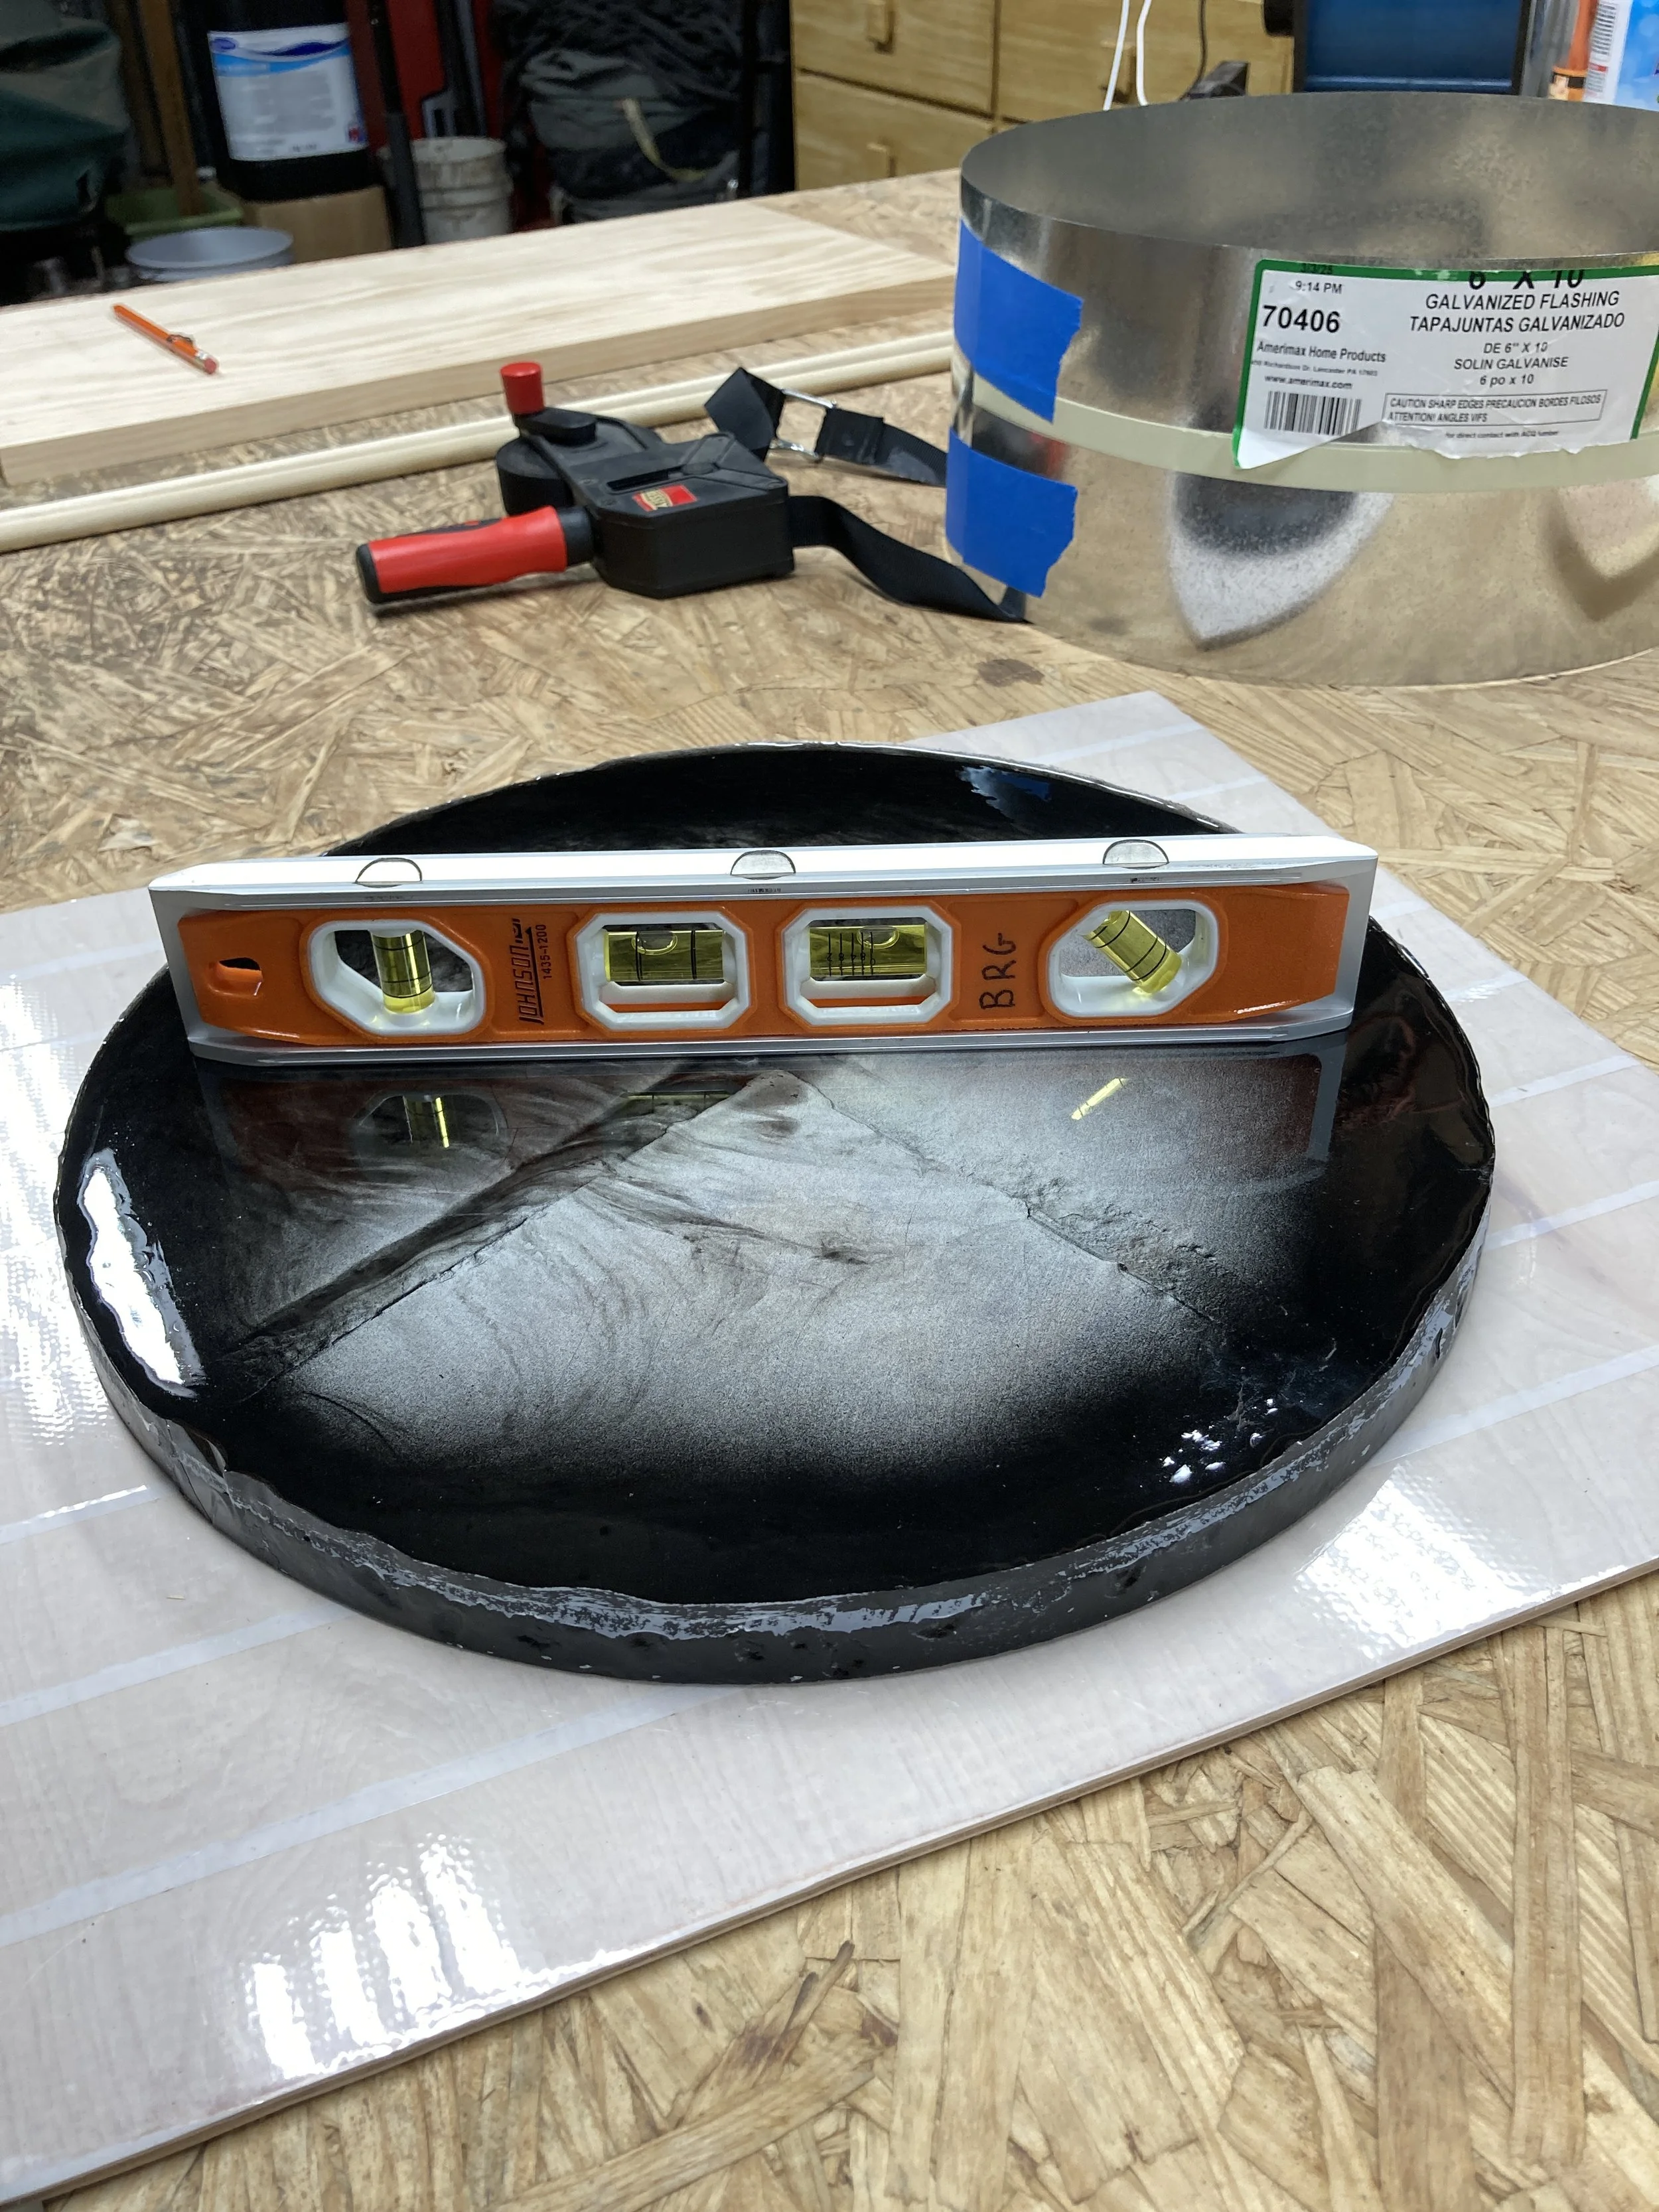
It took me 2 pours & about 350ml of resin to get a level straightedge across the bottom of the table top.
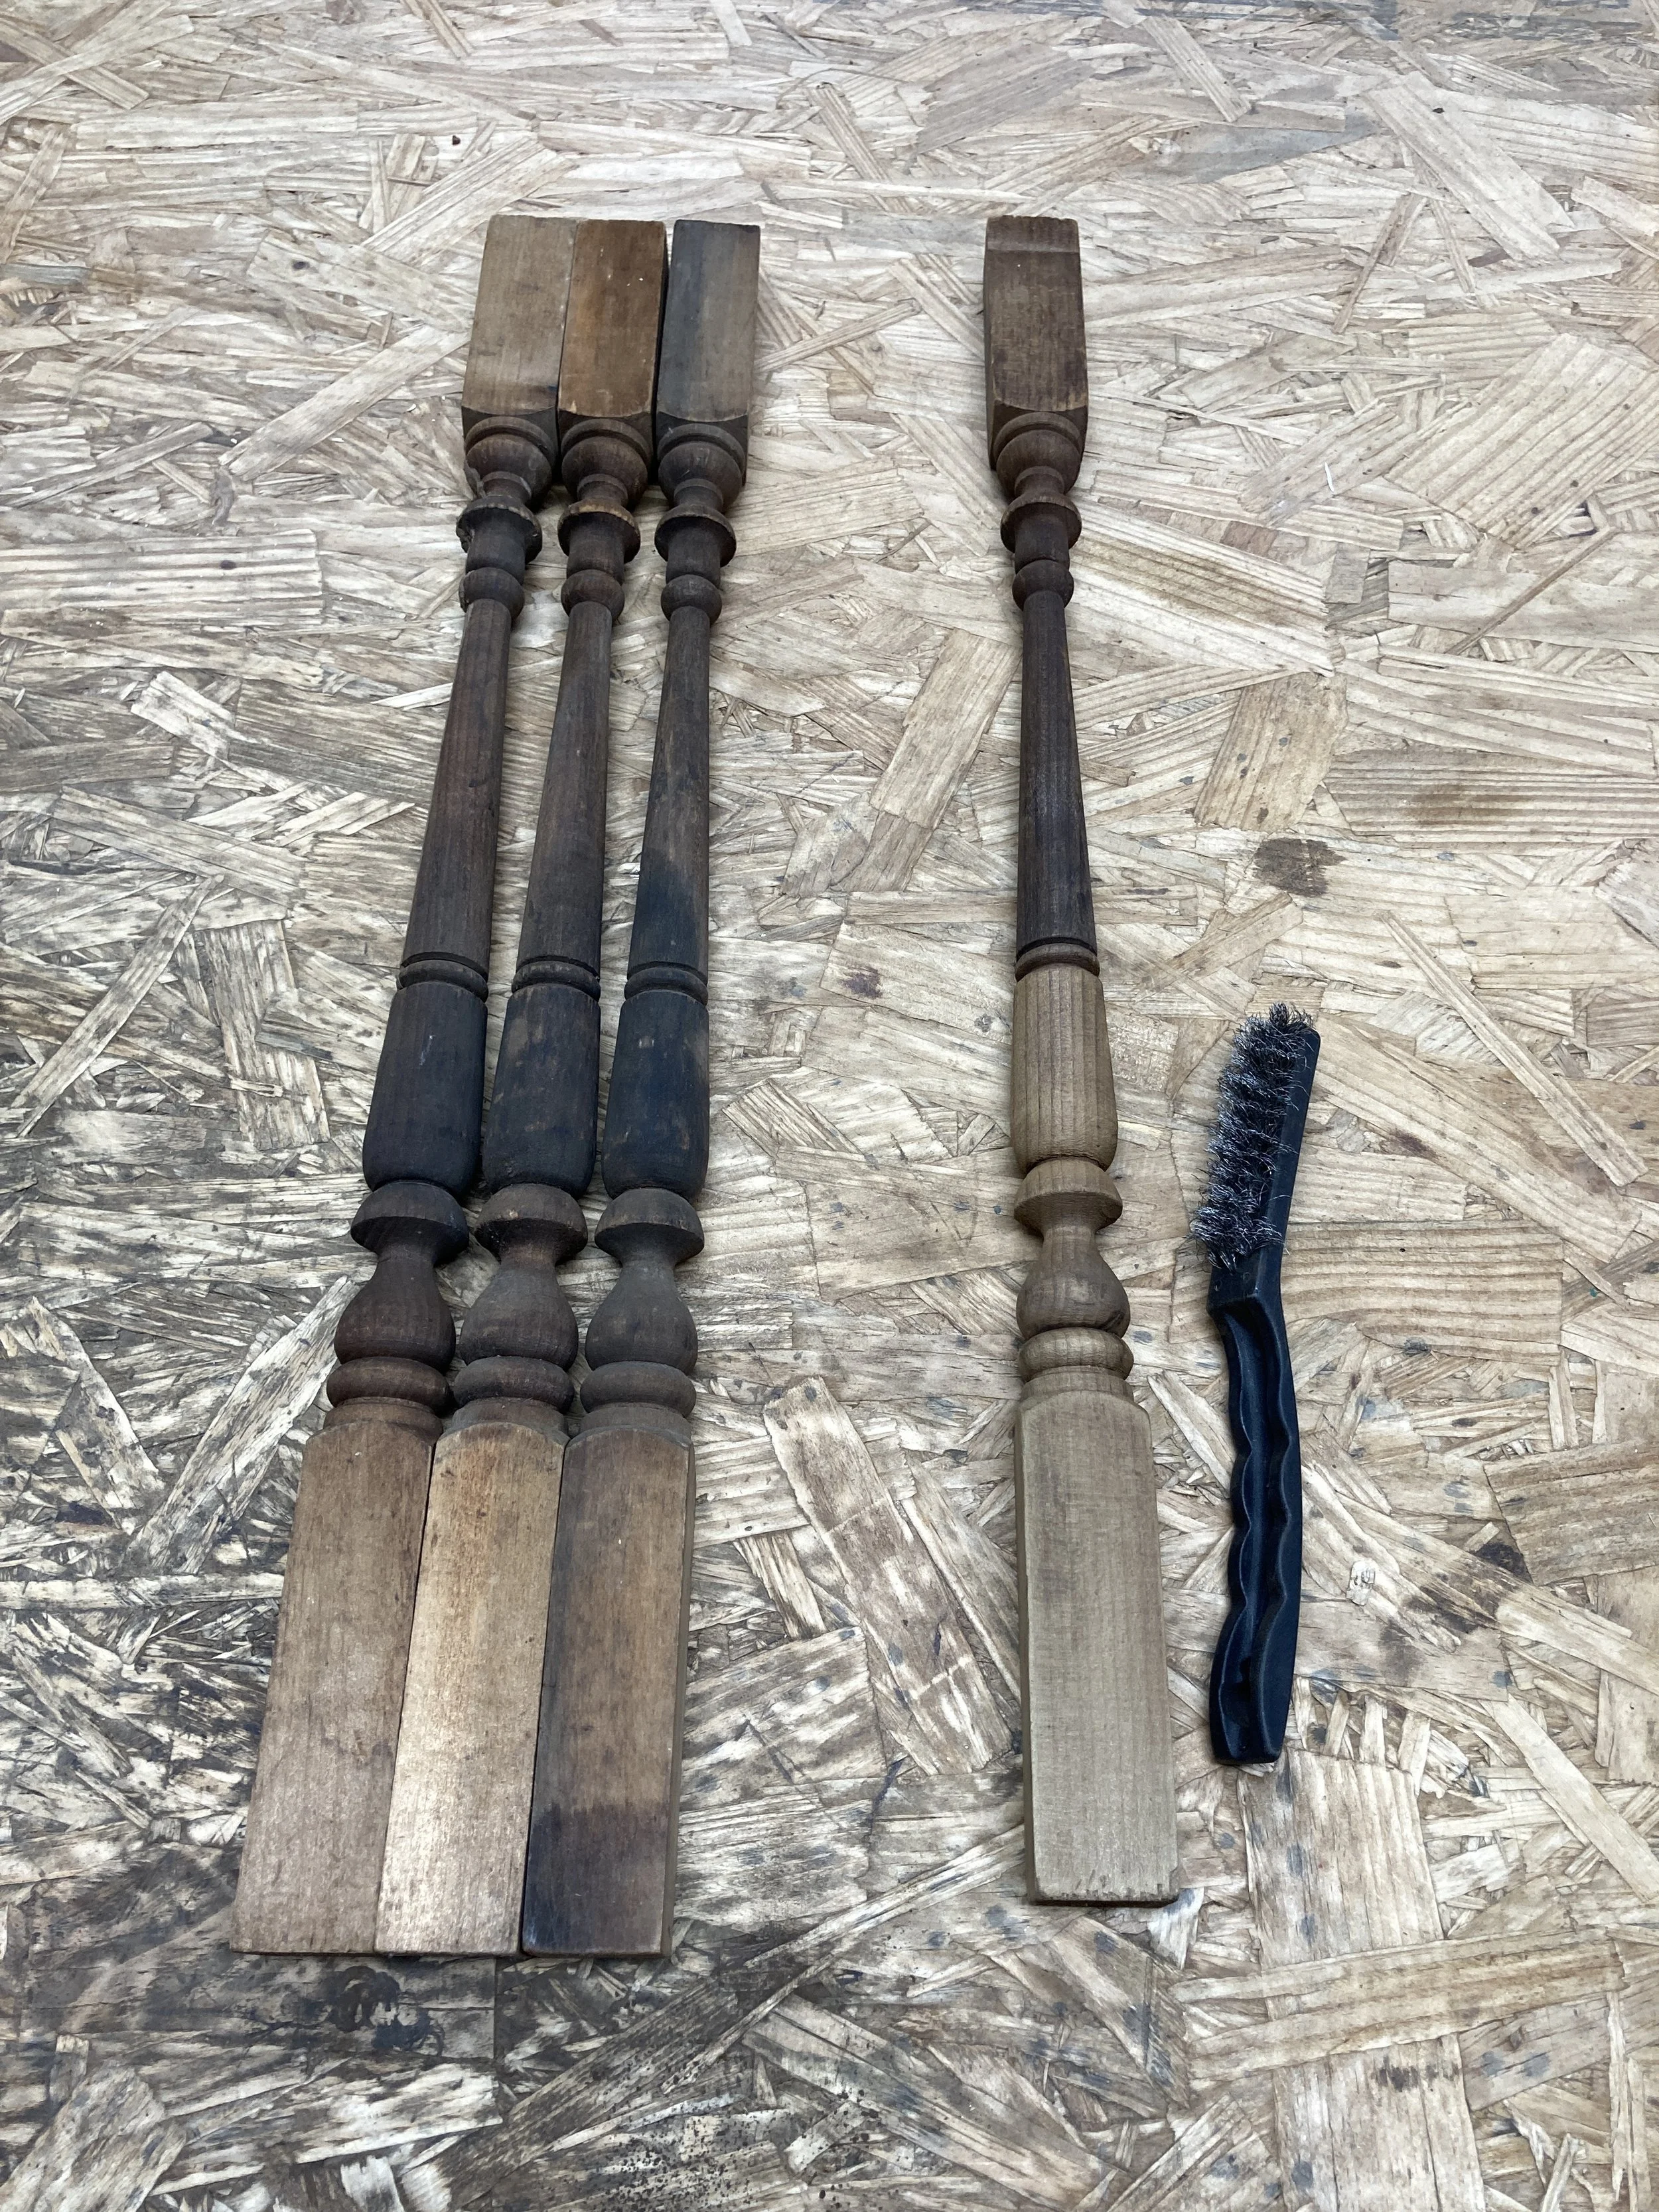
So now I had a level surface to work with. I remembered that there was a number of old table legs I found in the barn so rounded them up & got 4 of them that matched evenly. They cleaned up nicely with just using a wire brush I & filled any cracks they had as I plan to stain them & seal with exterior polyurethane sealer.
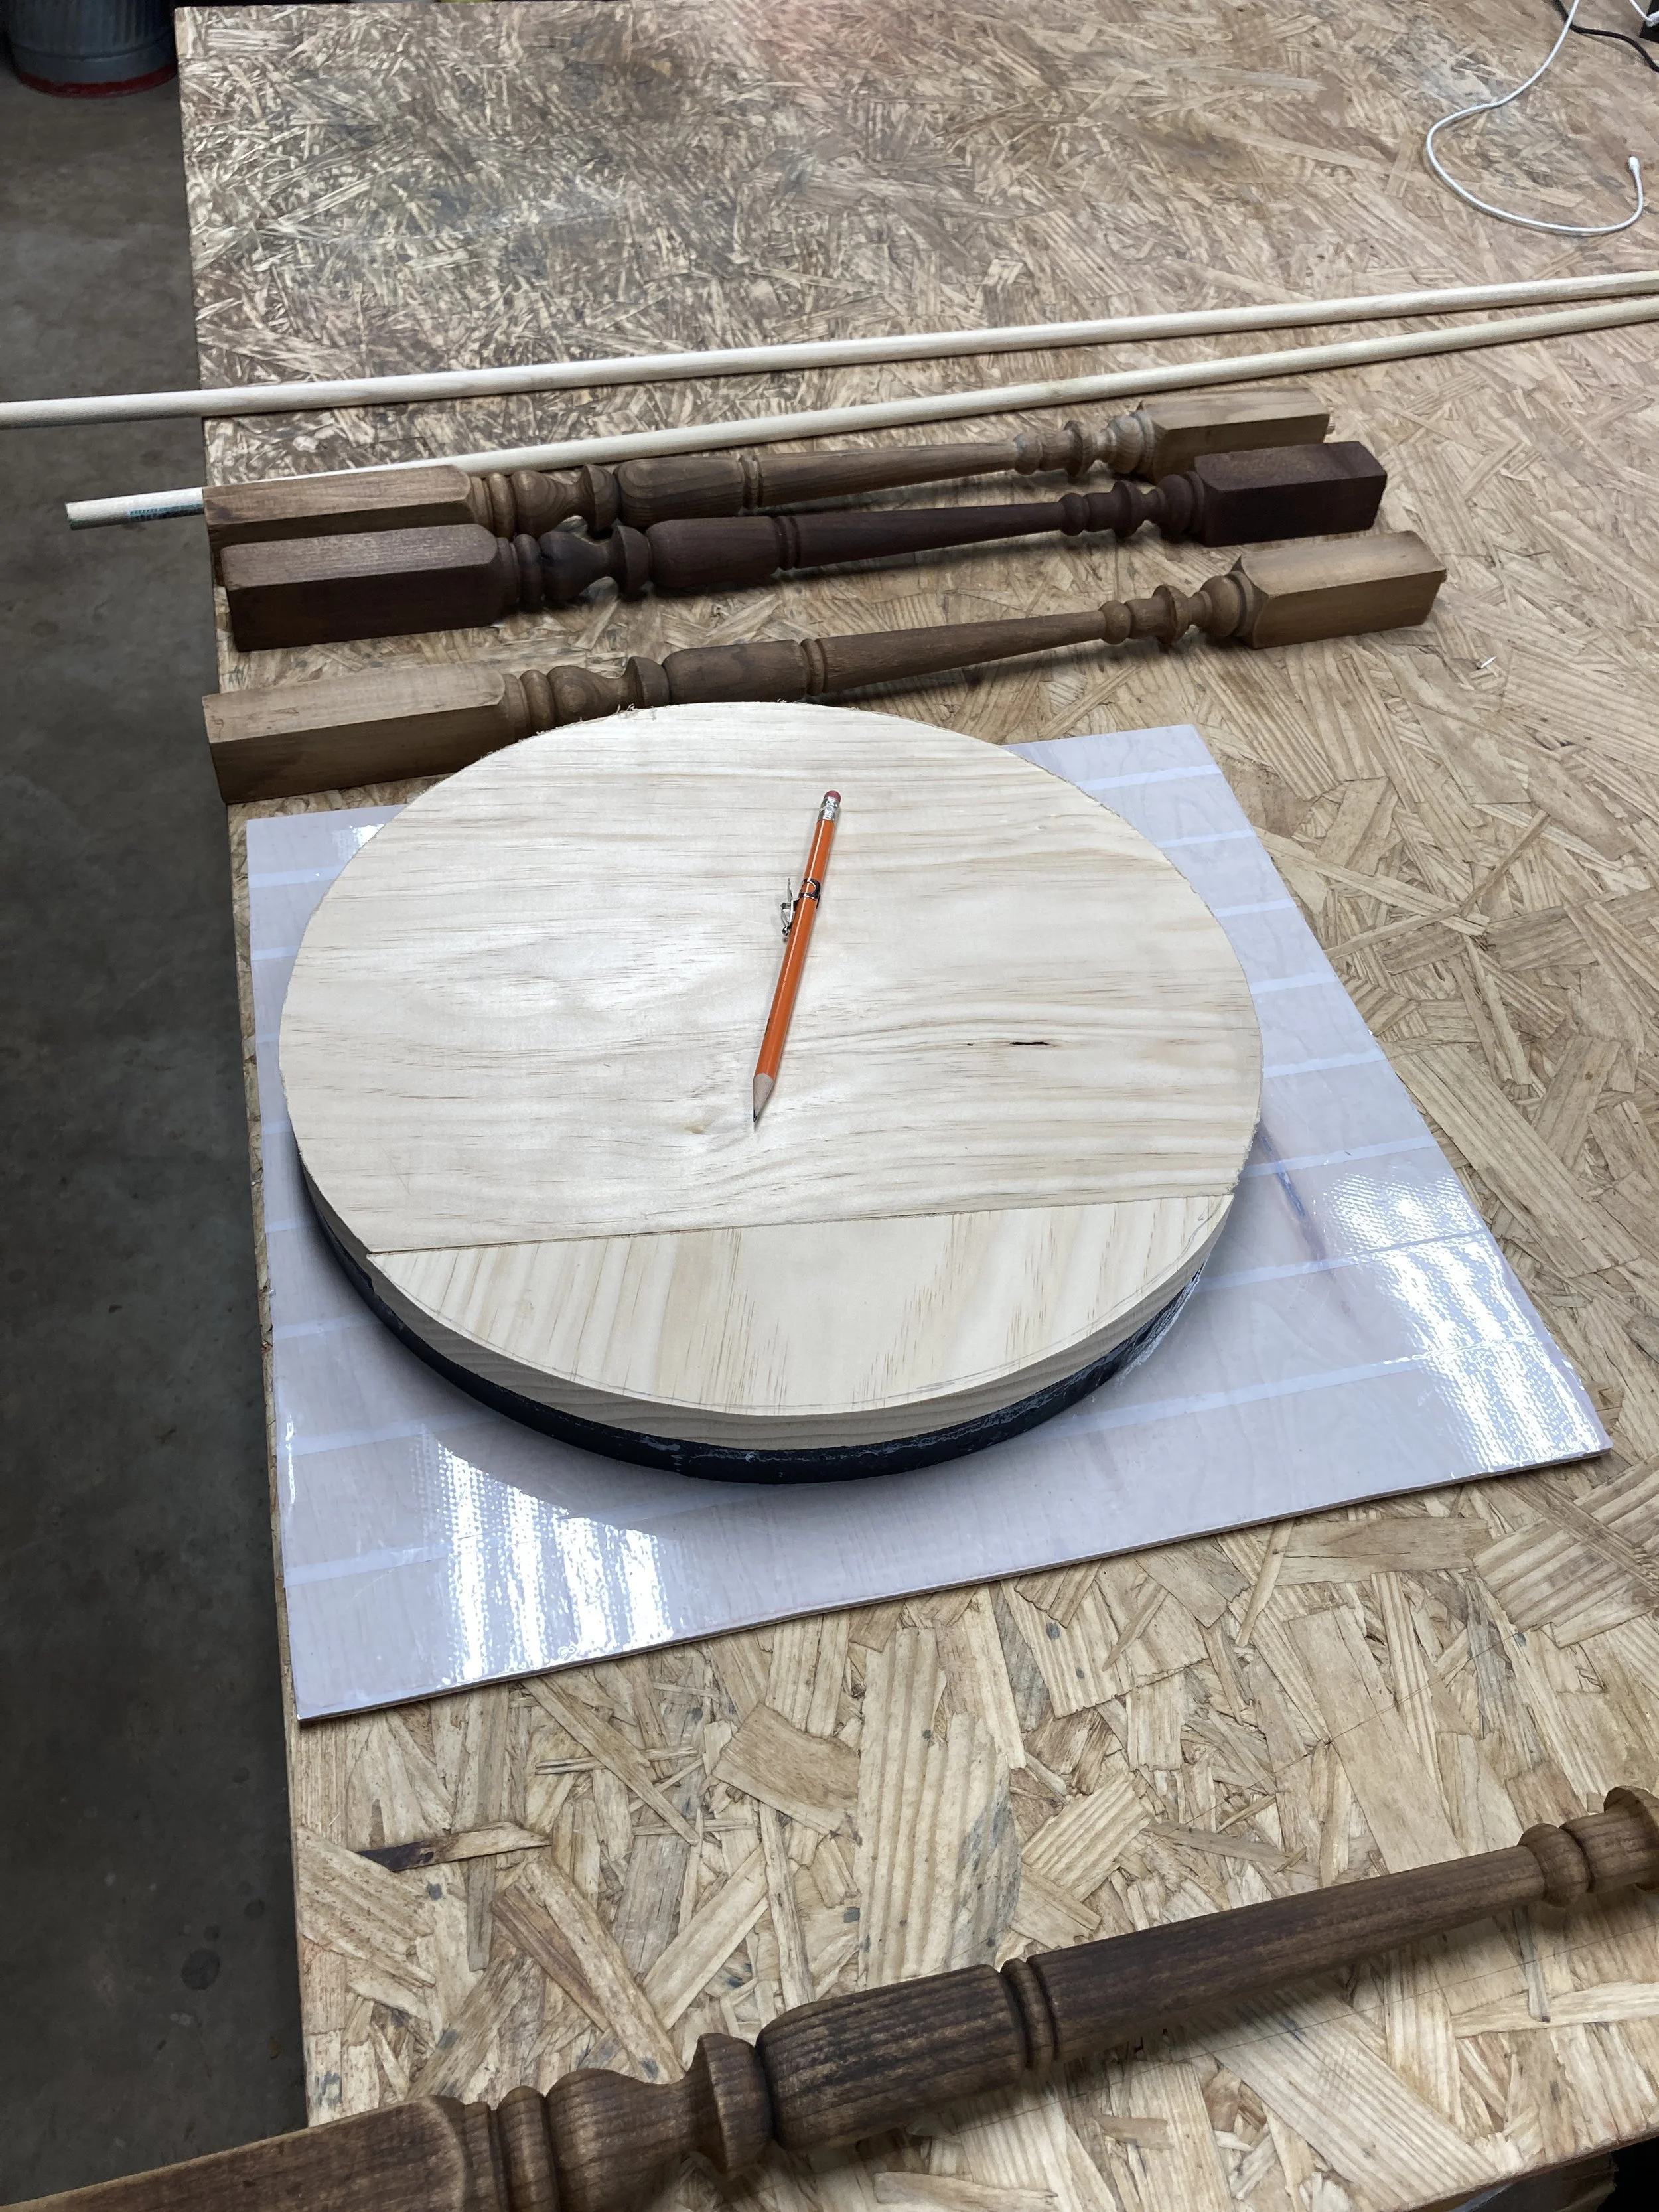
I cut 2 pieces of scrap soft pine that I had & fitted them together using wood glue & dowel rods. My plan is to drill 4 holes through this piece & then drill into the bottom of the table top, insert dowel rods & glue the board to the bottom of the table top. This will give me a mounting base for the table legs.
I plan to install 1/2” dowel rods between the table legs for strengthening. Then to install adjustable leg bottom fittings for leveling of the table if necessary.
So at this point, the only cost I’m out on is the cost of the 2 1/2” dowel rods from Lowes, which were only a few bucks, the cost of the resin, which I already had, the table legs, which I already had & the scrap wood, which I already had.
I’ve been on & off this project for a few weeks now. I estimate I have maybe about 6 hours into it so far.