
Trailer Deck-Board Replacement
Date Trailer was Purchased: 18-March-2024
Today’s Date: 31-October-2025
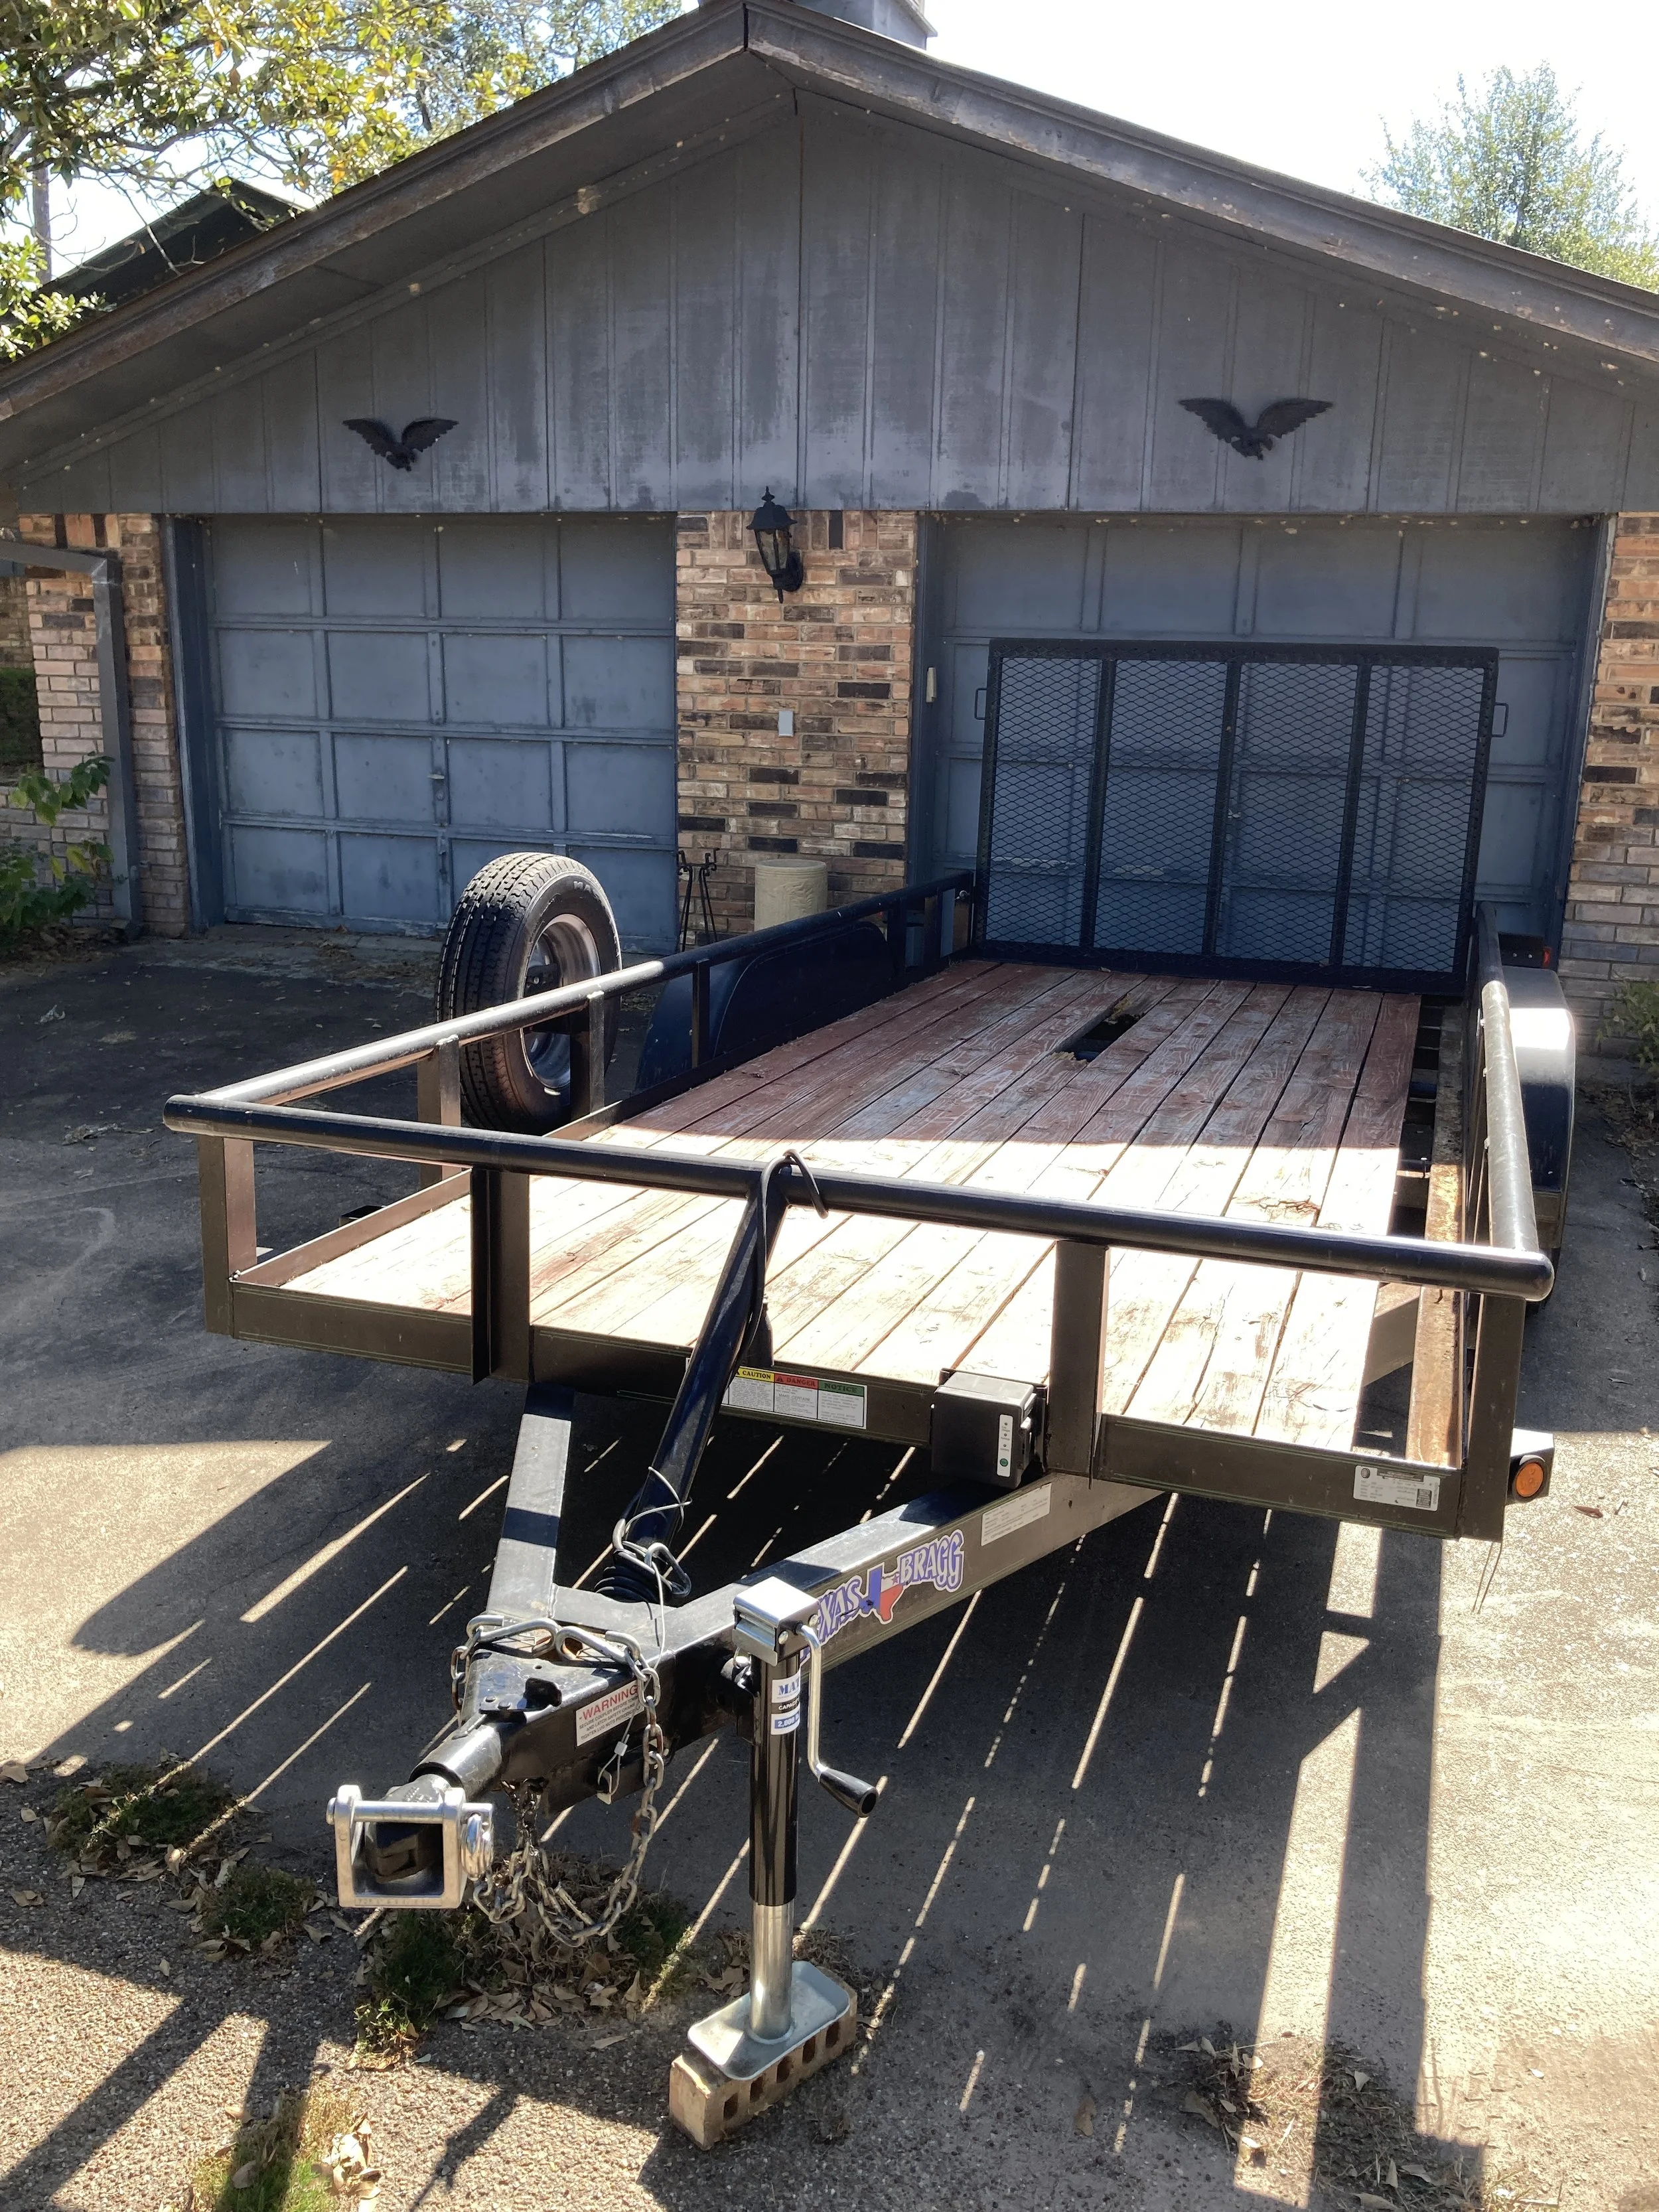
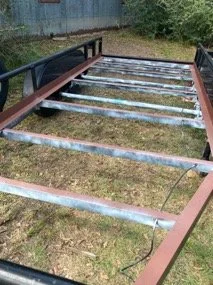
So I’ve owned this trailer for one year & seven months. I’ve been very pleased with it, however earlier this year I noticed one of the deck boards had started to rot. A while later I noticed another one starting to rot. About a month ago I was walking on the deck in the middle & my foot went through the deck. So I ripped up all the rotten boards I could to determine how bad the issue was. It almost looks like this trailer was underwater for a while as all the boards showed signs of rot but most likely it’s just been sitting outside for a couple of years doing nothing.
So I wasn’t too pleased to see this but the trailer only had a one year warranty & I doubt that the deck boards would be covered anyway so I didn’t pursue it & decided to make preparations to replace the deck boards myself as I can only imagine what T3 would charge for this replacement. Also I knew that I could do a better job.
Also, I looked at a few You Tube videos to see how this board replacement is done. There were a number techniques but mostly the same when bending the boards to fit underneath the angle iron.
So I’ve been working on this pretty much on a daily basis for an average of about 5-6 hours per day for the past couple of weeks. I haven’t kept accurate time but estimate I got a good 40 hours invested in this project to date.
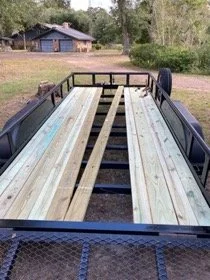
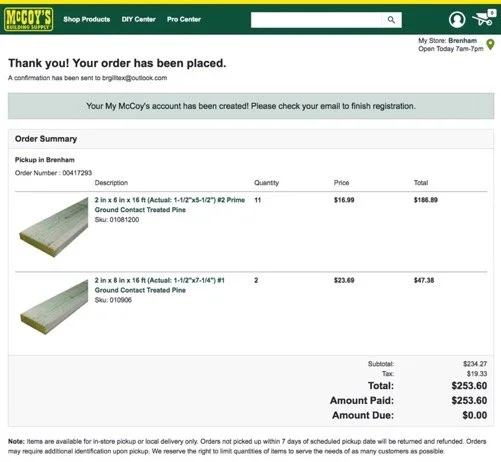
So the first thing I did was purchase the lumber for the deck replacement. I chose McCoy’s as their prices were about the same as Home Depot & they allow you to drive into their lumber yard with your trailer & they will assist in loading the lumber.
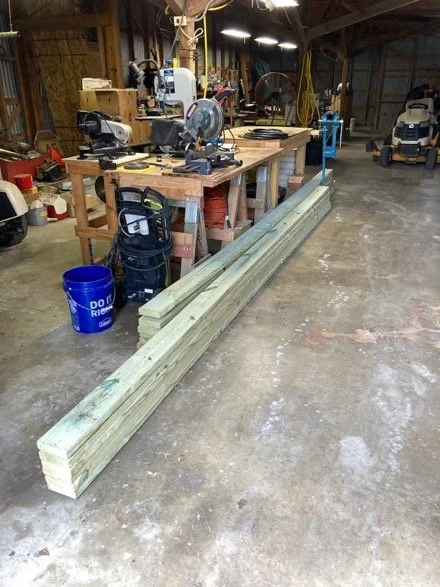
It needs to be noted that this is a good size quantity of lumber & having a place to store it is convenient prior to replacement.
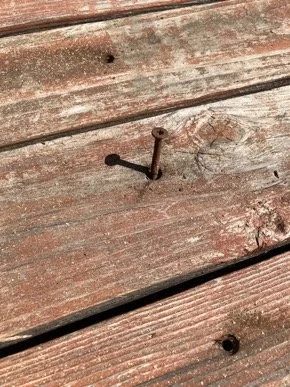
The first issue was to remove the flat head screws anchoring the boards to the frame. The boards are not bolted down, they are screwed down using self tapping metal screws. Using a hex bit & a rachet, I was able to removal almost all of this by unscrewing them, however a few of them snapped off which I had to grind down flat later after the boards were removed.
The next step was crawling underneath the trailer & removing all the staples that held the electrical lines in place. Once this was done & insuring that the electrical lines were all loose, the deck boards could be removed & the trailer could be moved if necessary.
I backed the trailer onto a concrete driveway & jacked it up as high as I could get it using the trailer jack & then used my creeper to move around beneath the trailer to remove these staples.
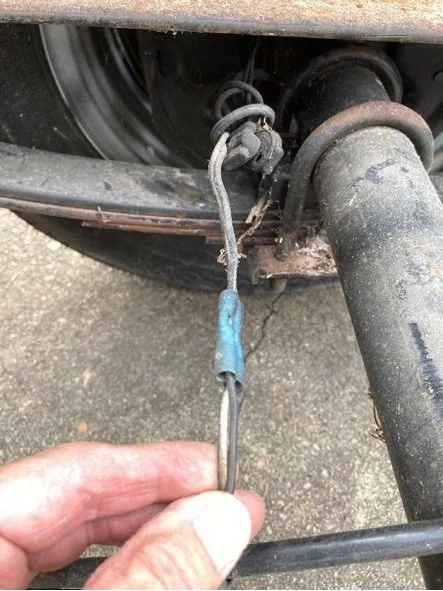
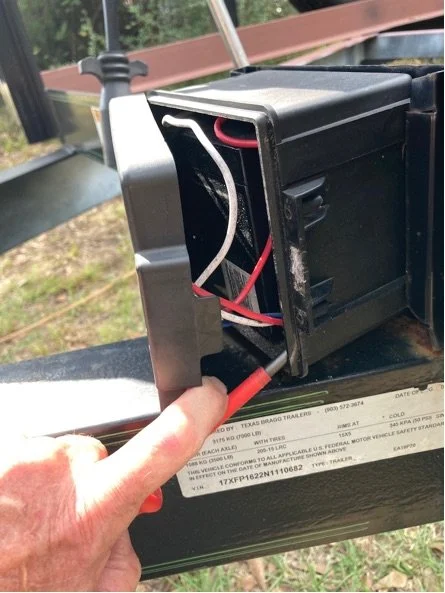
At this time I was able to see what a crap job they did on the electrical as some of the connections they made were not weather proofed so it would be only a matter of time before the connection failed. So that had to be addressed.
Also, they cut the wires too short to open the battery case if the battery needed to be serviced so I had to open up the junction box, remove the short wires & splice them into longer lengths & re-terminate them in the box allowing the battery box door to open wide enough for service. These little things are nothing but annoying.
The next step using a Circular Saw to cut the boards so they could be lifted out from beneath the angle iron frame.
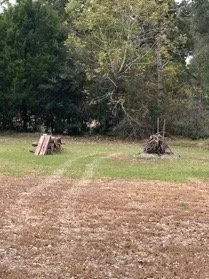
It needs to be noted that once these boards are removed, they are virtually worthless due to the amount of wood rot so must be disposed of. Luckily, I have access to a burn pile.
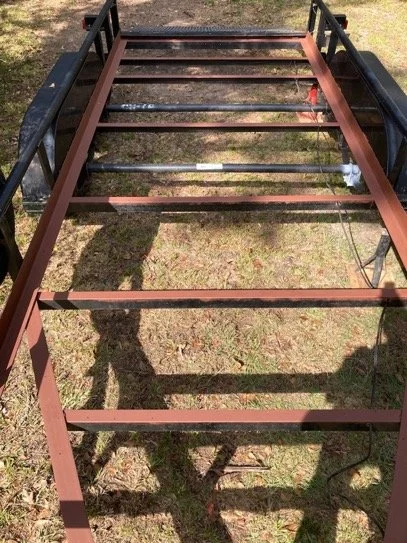
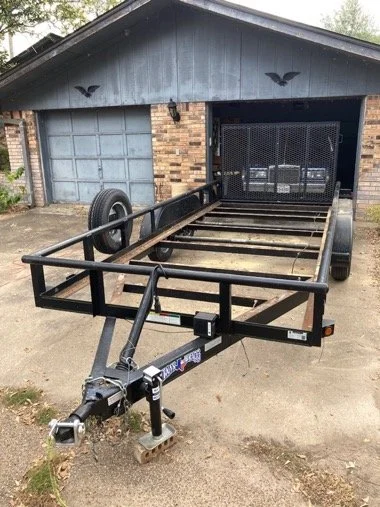
So once all the boards have been removed, the trailer is now ready to be serviced.
I wasn’t sure how far I was going to go with the maintenance but as I moved along & thought about more, it became obvious that while these deck boards are off, as much maintenance as possible should be done as once the deck boards are back on, that’s it. There’s no going back. I’m hoping I never have to do this again.
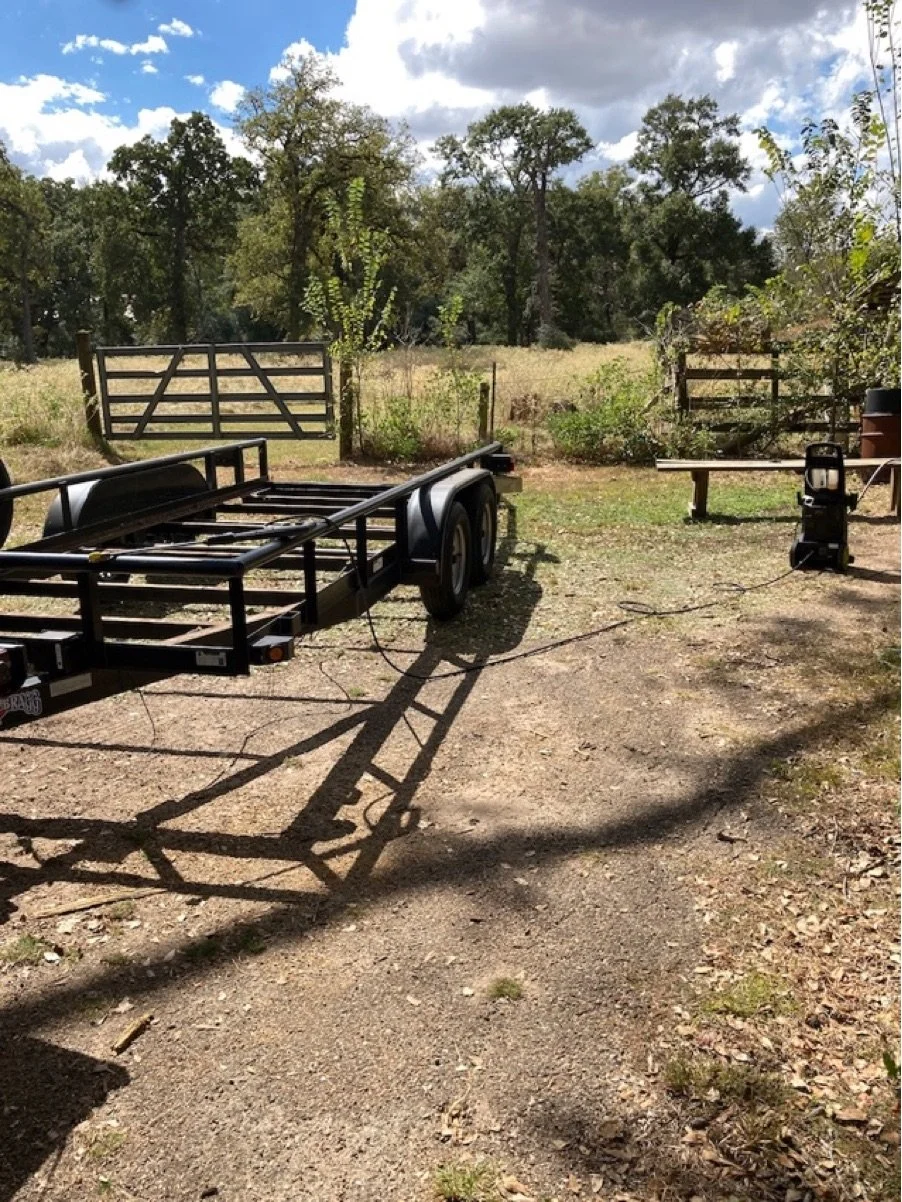
One tool that really helps is a pressure washer. Once I removed the deck boards, I used the pressure washer to hose down the trailer & clean everything off.
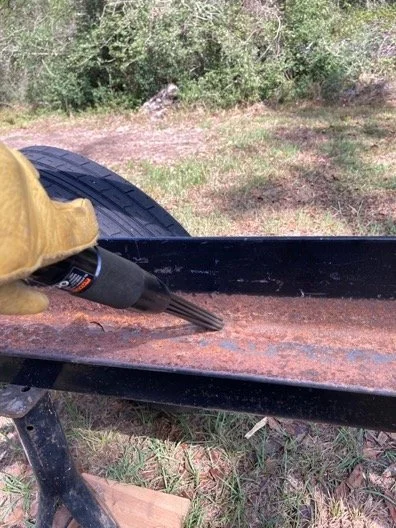
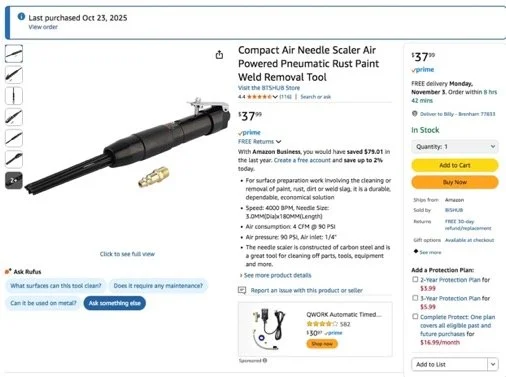
So the tool list continues to grow. The amount of rust beneath the deck boards wasn’t too bad but needed to be addressed. The best way to do that is to use a needle scaler. So I had to order one of those. I found a cheap one on Amazon that appeared to be about the right size for this particular job so ordered it.
This needle scaler worked perfectly & did the job I intended it to do. The heavy rust was all on the large angle iron frame on the outsides.
Obviously, an air compressor is essential here to power the needle scaler but also to blow off the dust & debris after sanding.
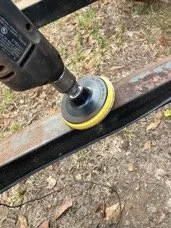
The smaller angle iron crossover frames had only surface rust on them so I used a circular disc sander to buff them. Using 180 grit paper worked perfectly.
As an additional step, which is probably unnecessary, I used 100 grit sand paper & a wire brush to go over the sanded areas just to smooth it out & make sure I didn’t miss anything.
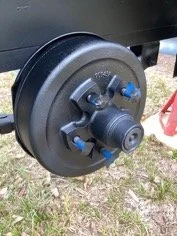
However, the circular sander would not be all that useful on the axles, springs, wheel hubs etc. Only sand paper & wire brush needed to be used here.
The next step was paint preparation. I used Lacquer Thinner to wipe down the sanded surfaces.
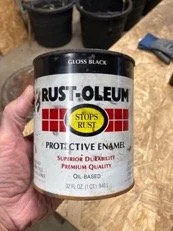
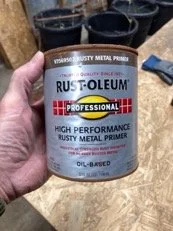
The next step was brushing on the primer. I already had a quart can of oil based primer & oil based paint so wanted to use those.
I decided to use the oil based primer & paint on the top surfaces of the main frame only as brushing the whole frame would be too much work. Also, if necessary, the underside of the frame could be accessed without removing the deck boards. It was time consuming & using a paint sprayer would have been easier but it wasn’t that bad. A few hours & it was done.
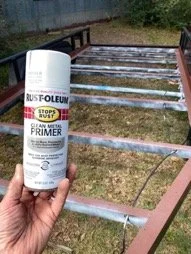
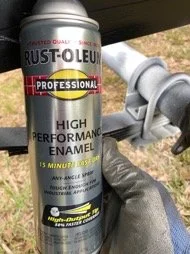
The next step was to get a light coat of primer onto the other parts of the frame. These parts were only showing various spots of surface rust so a light sanding & then a light priming & then painting should be enough to last. I used Rust-Oleum spray cans for this .
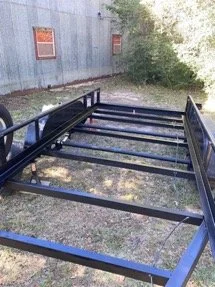
So to finish off the painting, I used a brush to apply the top coat of the oil based paint to the top of the main frame. I then used the spray cans of Flat Black to paint the remainder of the frame, leaf springs, wheel hubs, fender wells etc.
So with minor touch up on the top coat of paint, the trailer frame is painted & ready for the wood deck installation.
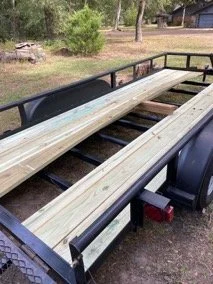
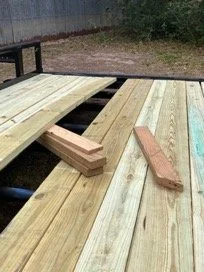
All but the last four boards can be installed by sliding them in place sideways & using a rubber mallet to knock them into place.
Use a wooden block & hammer if necessary due to tightness.
The last four boards have to elevated in the middle using wood blocks in order to fit it into place. Be sure & drive the board all the way into the back frame before trying to fit it into place.
Once the two ends are in place beneath the lip of the two angle iron frame ends, use a hammer to knock away the wooden blocks & the board will fall into place. Some adjustment may be needed with the wooden blocks to get the right thickness in order to get both ends on the board into place before knocking the blocks away.
The last board may be a little difficult to get into place due to the tightness of the fit of the frame.
Use a wooden block & hammer to hammer down the end going into the end frame & get it between the boards. At the other end, using the hammer & wooden block, hammer the board into the frame end. Block up the board as usual & fir the other end into the frame. Knock away the blocks.
Use a wooden block to knock down the board into place if necessary. I was able to use my foot & my weight to get the board into place mostly once I started getting it into place.
This detail took me about 2 hours. Less time that I thought it would take so not too bad considering.
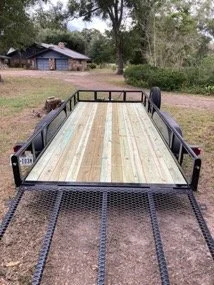
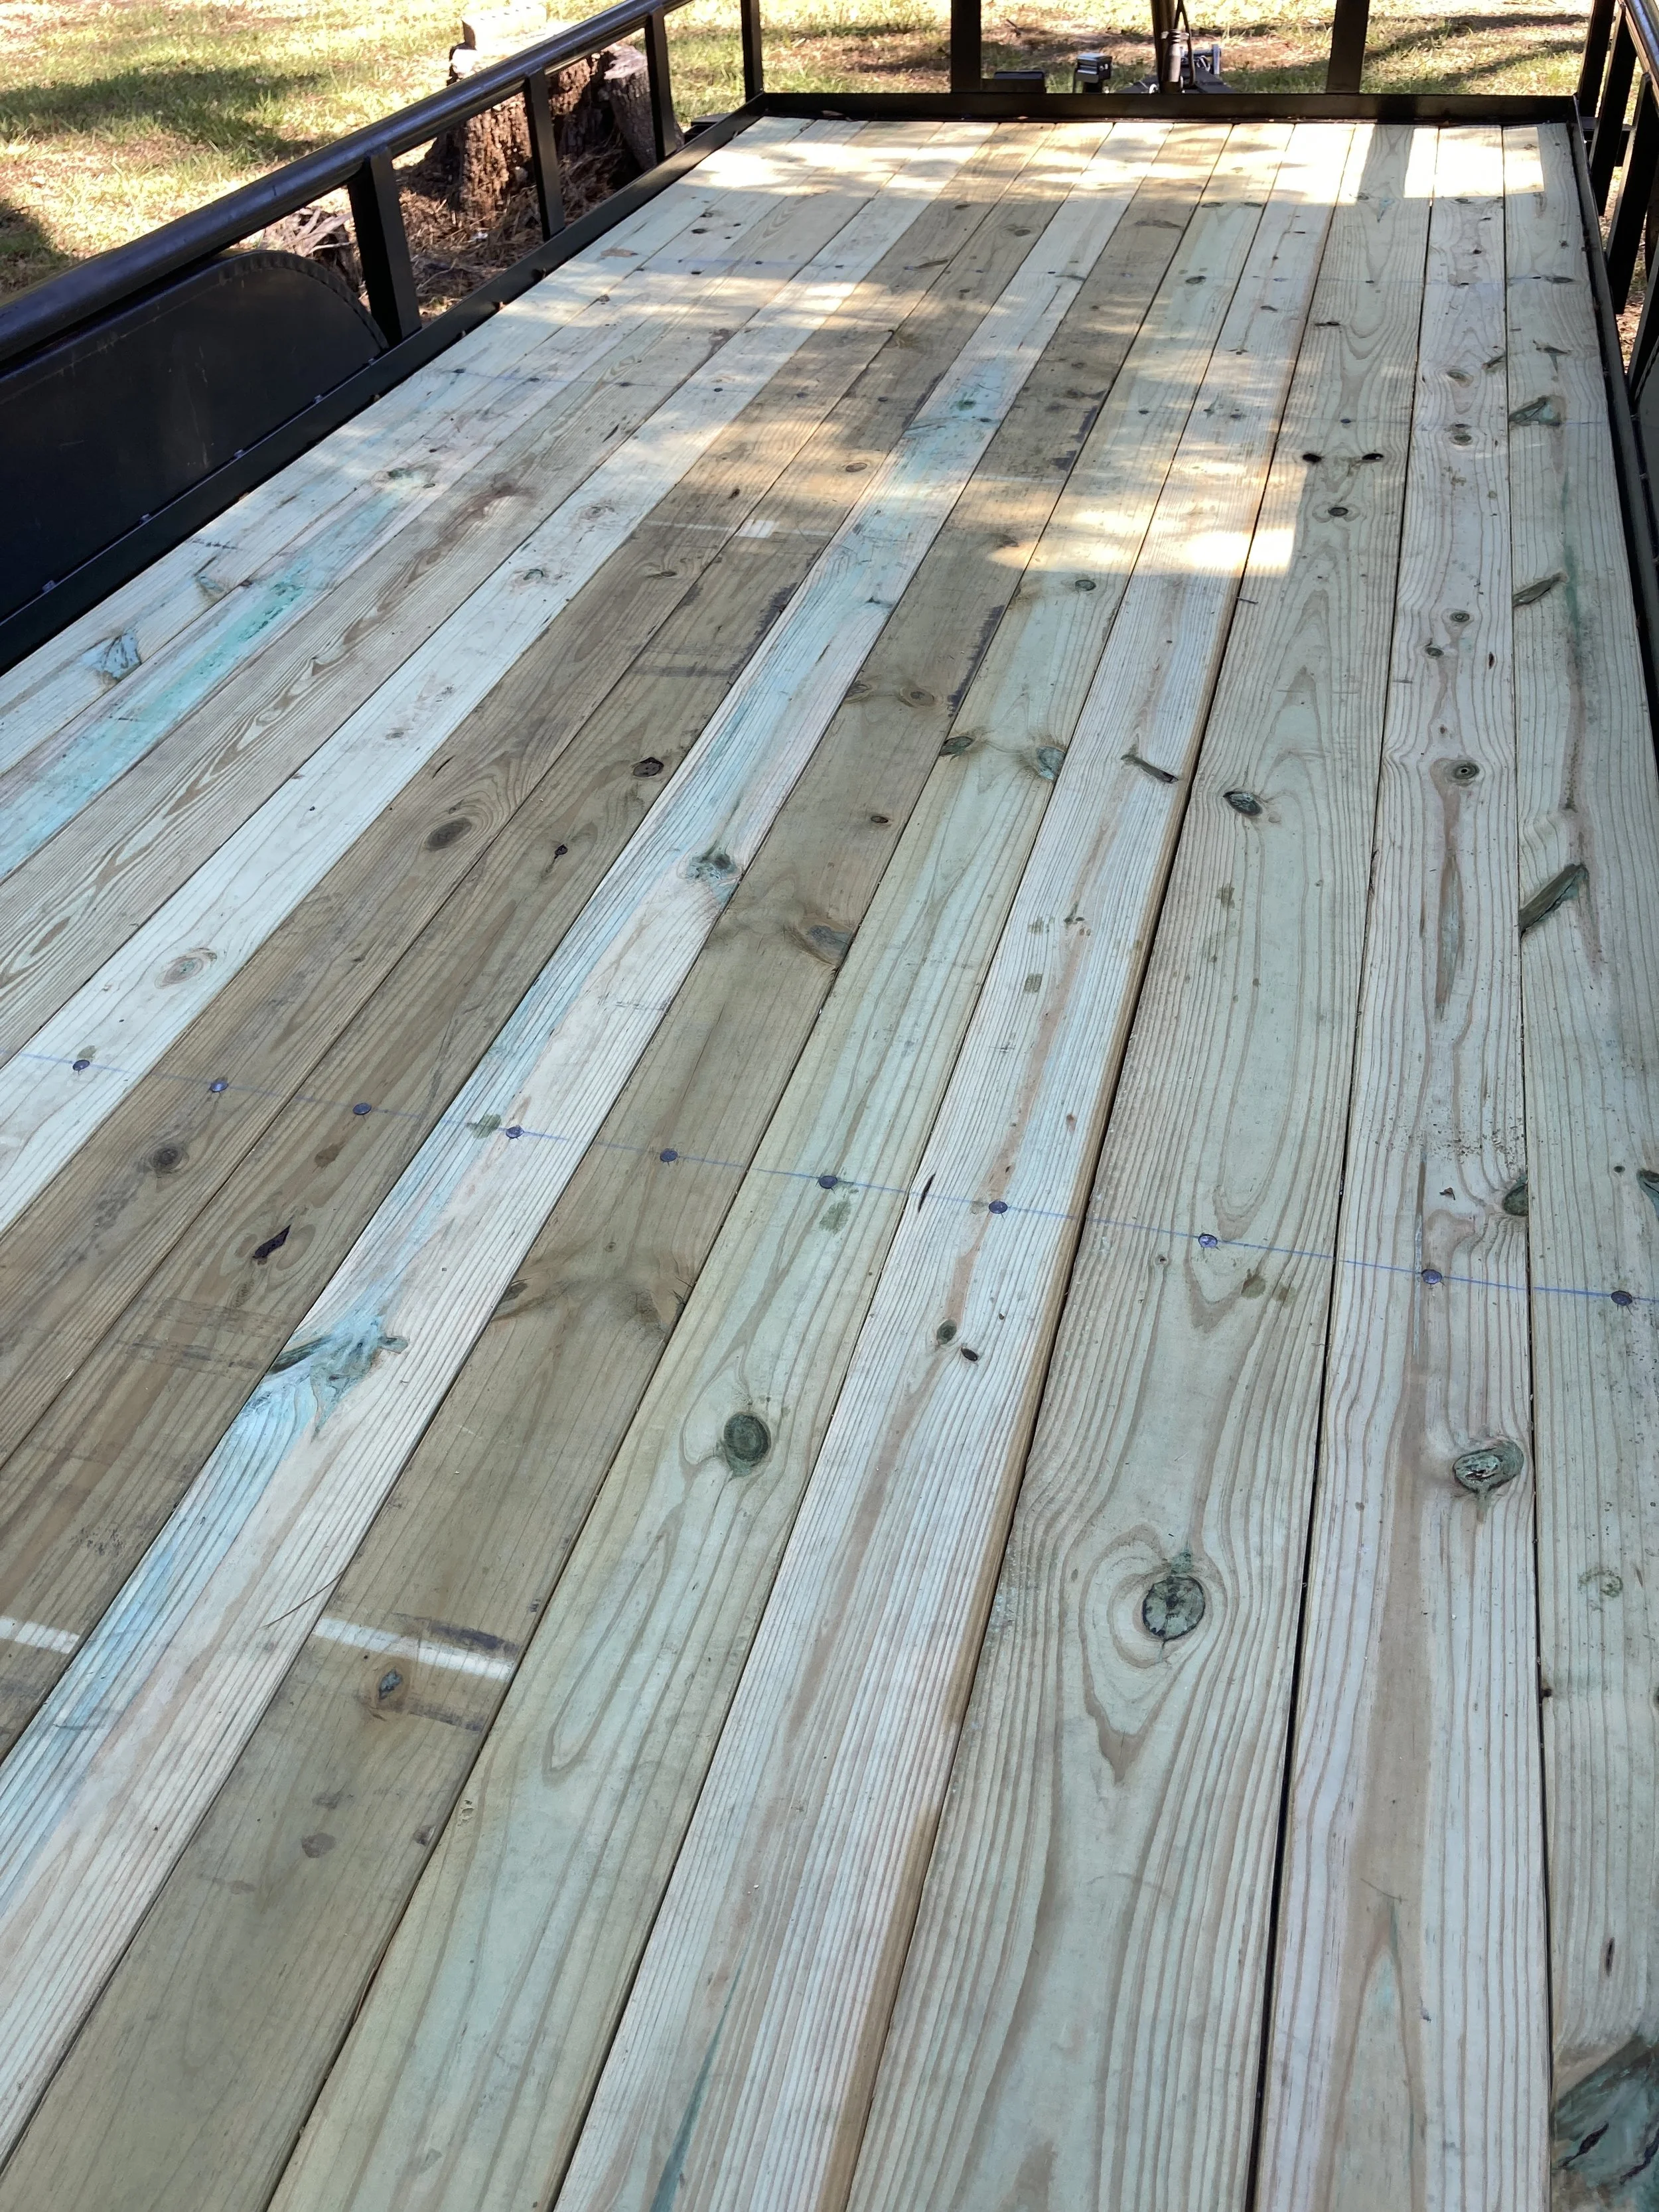
That’s it. The boards fit perfectly into place. Texas Bragg make a good & tight trailer.
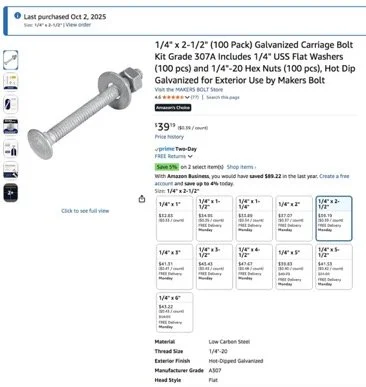
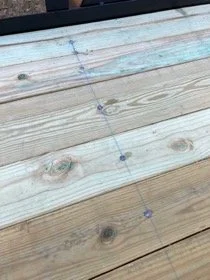
The next step is to drill the boards & the metal frame in order to install the galvanized bolts, washers & nuts.
This all went fairly smooth & straight forward. The boards are now solidly bolted into place with no bulging. Very satisfied with the results of this effort.